Themes
The Themes menu is used to create a custom website that can be used by members who want to register without downloading the Tada application. Through this menu, brands can:
- Configure the card detail appearance
- Change menu icons and names
- Show or hide specific features
- Create a membership landing page with their own domain
- Configure the header, sections, and footer of the landing page
How to Change the Card Detail Appearance
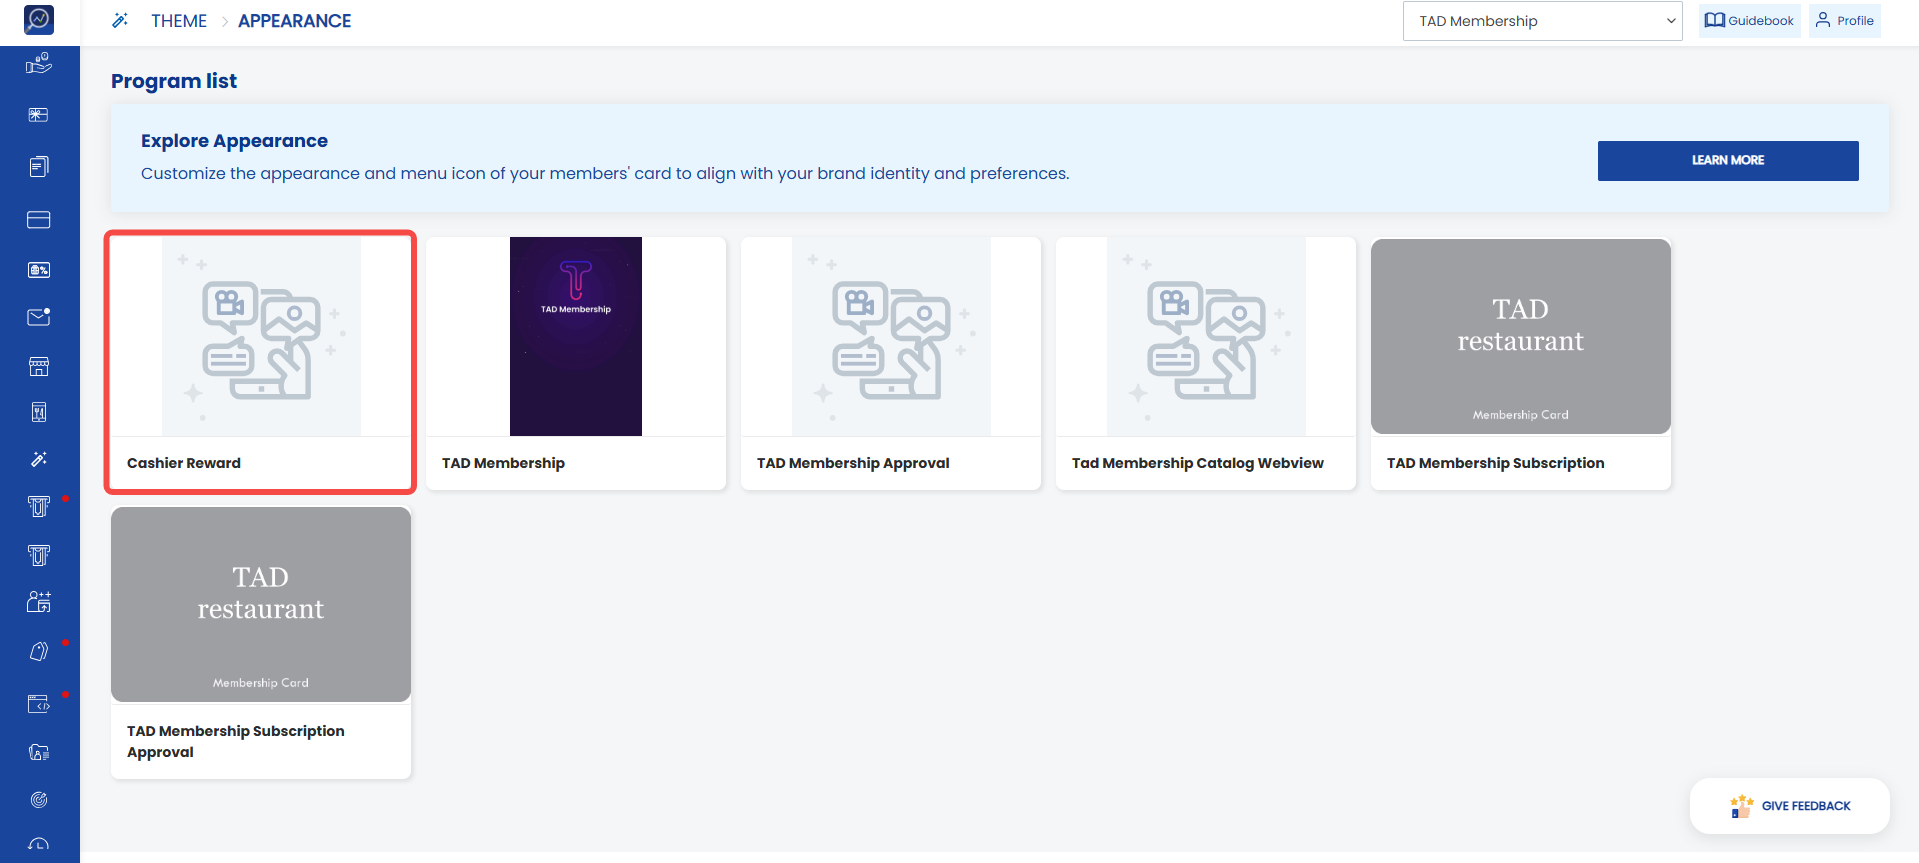
1. Open the “Themes” menu, then select the “Appearance” submenu.
2. Click the program that you want to modify.
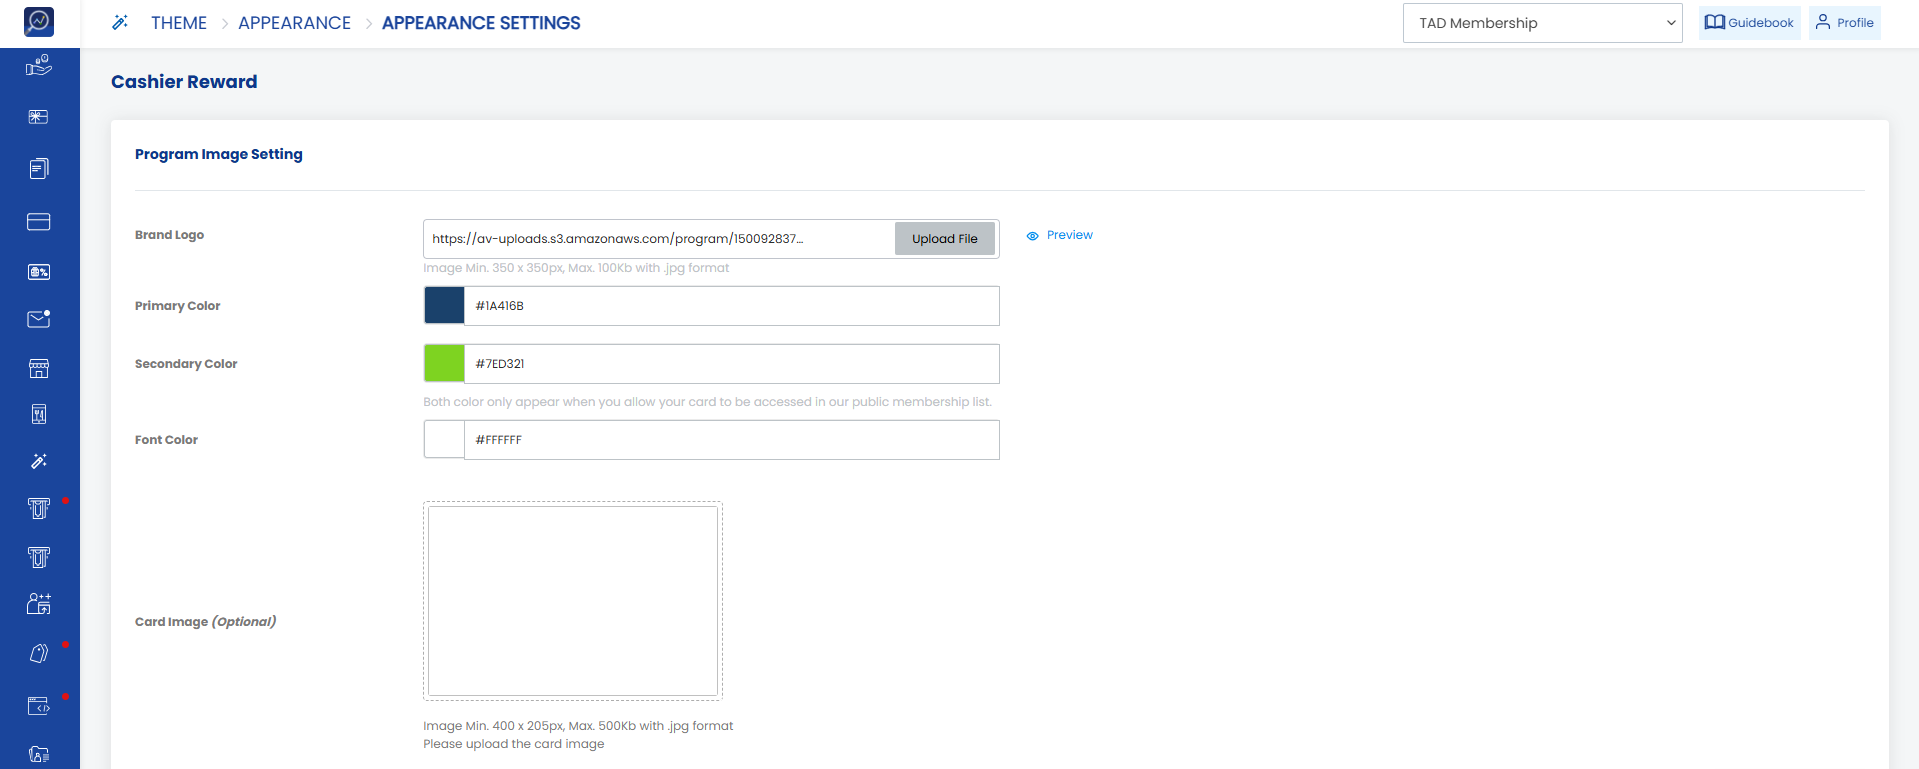
 3. Replace the brand logo in the “Brand Logo” field. This logo will appear on the card list viewed by members. We recommend an image resolution of 350 x 350 px, maximum 100 KB, in .jpg format.
4. Select “Primary Color” and “Secondary Color” to change the background color of the card list.
5. Select “Font Color” to change the text color displayed on the card list.
6. Click “Card Image” to change the image displayed on the member card. We recommend an image resolution of 400 x 250 px with a maximum size of 500 KB.
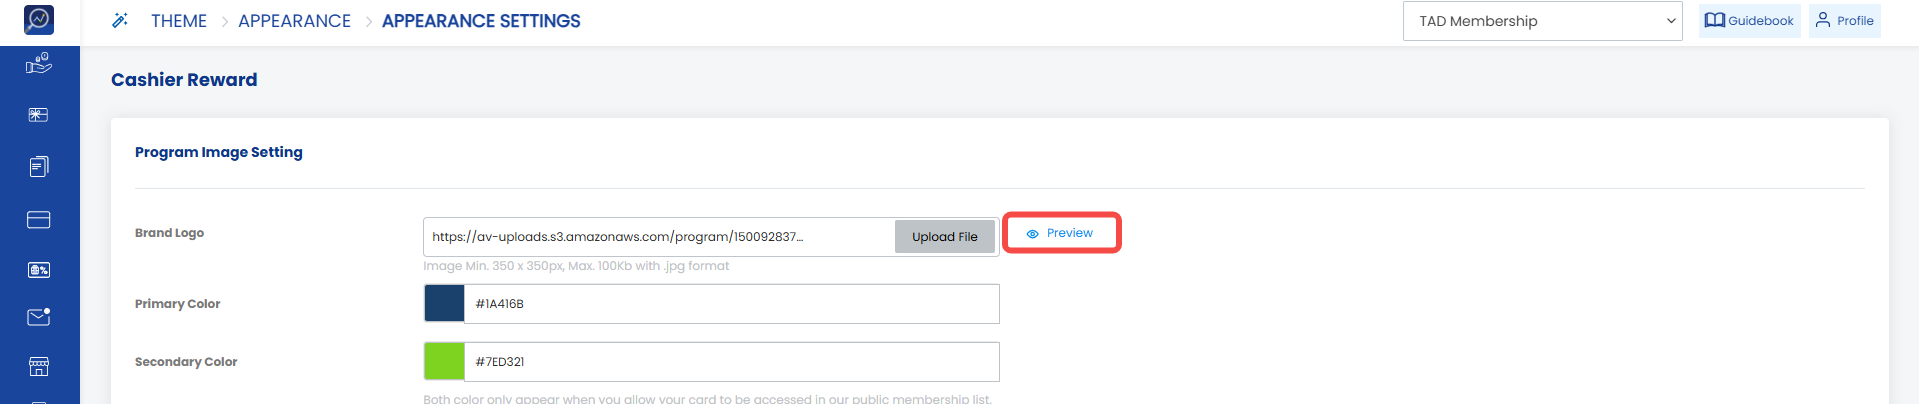
 7. Click “Preview” to view the result of the settings that have been configured.
 8. Select “Yes” or “No” to display the member name.
9. Click “Name Color” to change the color of the member name displayed.
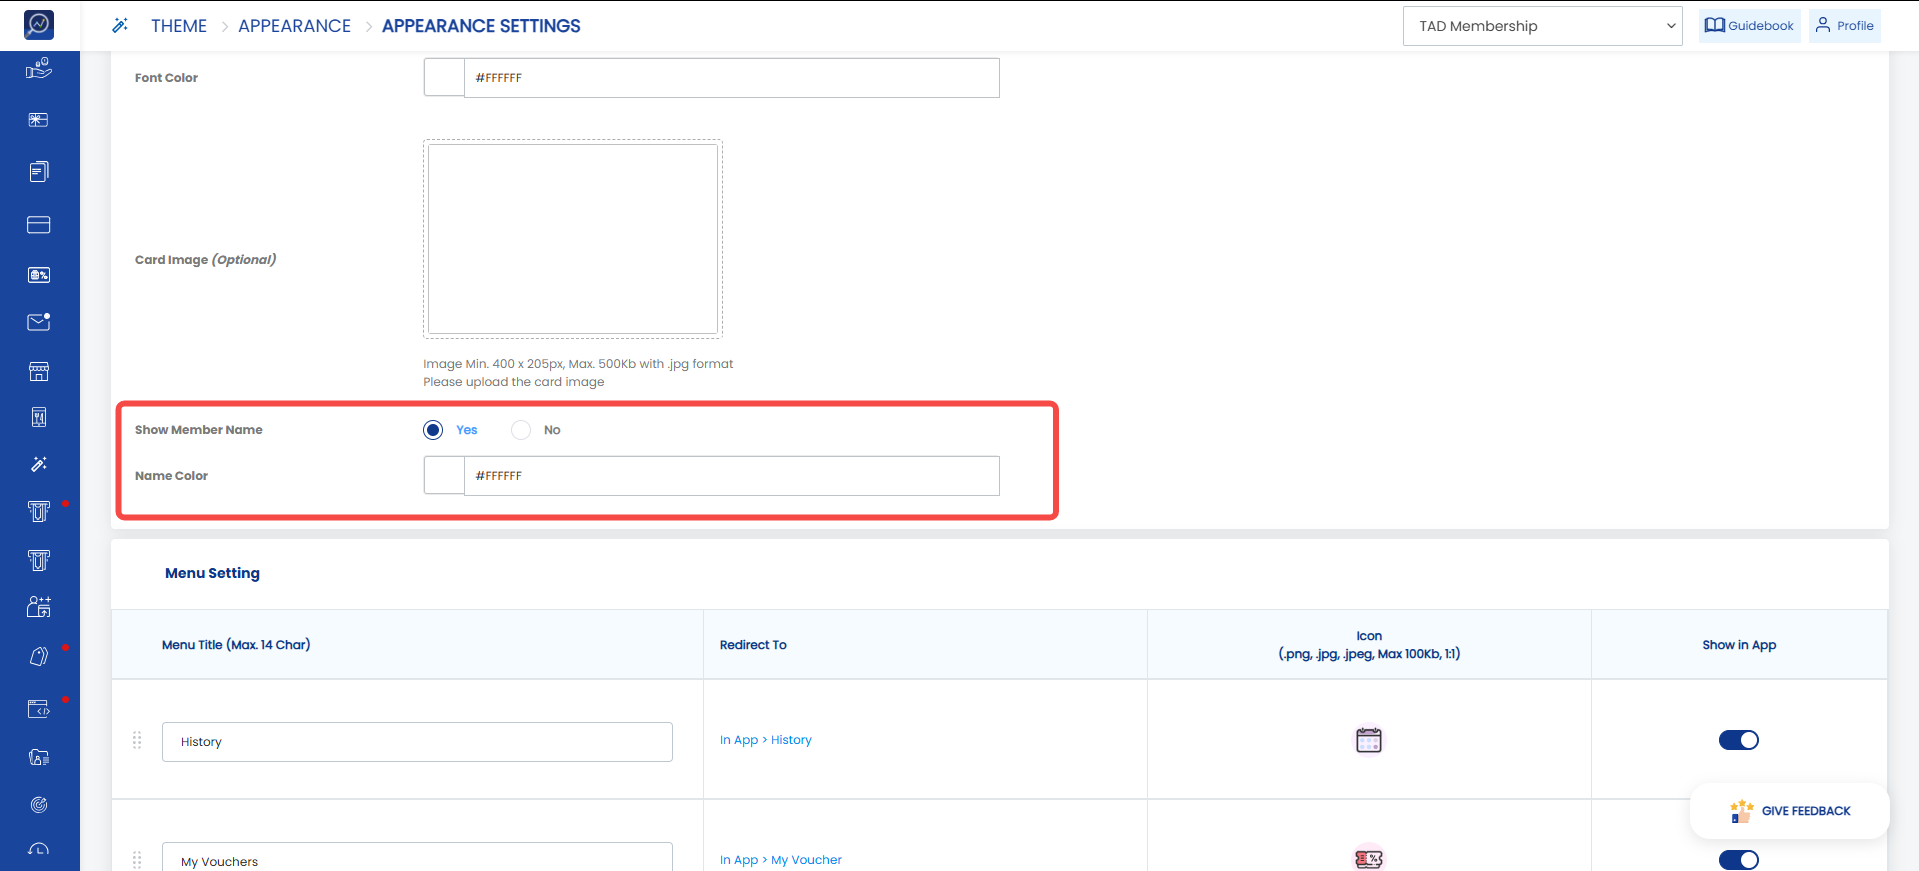 10. Click “Save” at the bottom of the page to save the changes.
How to Show/Hide Menus on Card Detail
1. Open the “Themes” menu, then select “Appearance”.
2. Click the program that you want to modify.
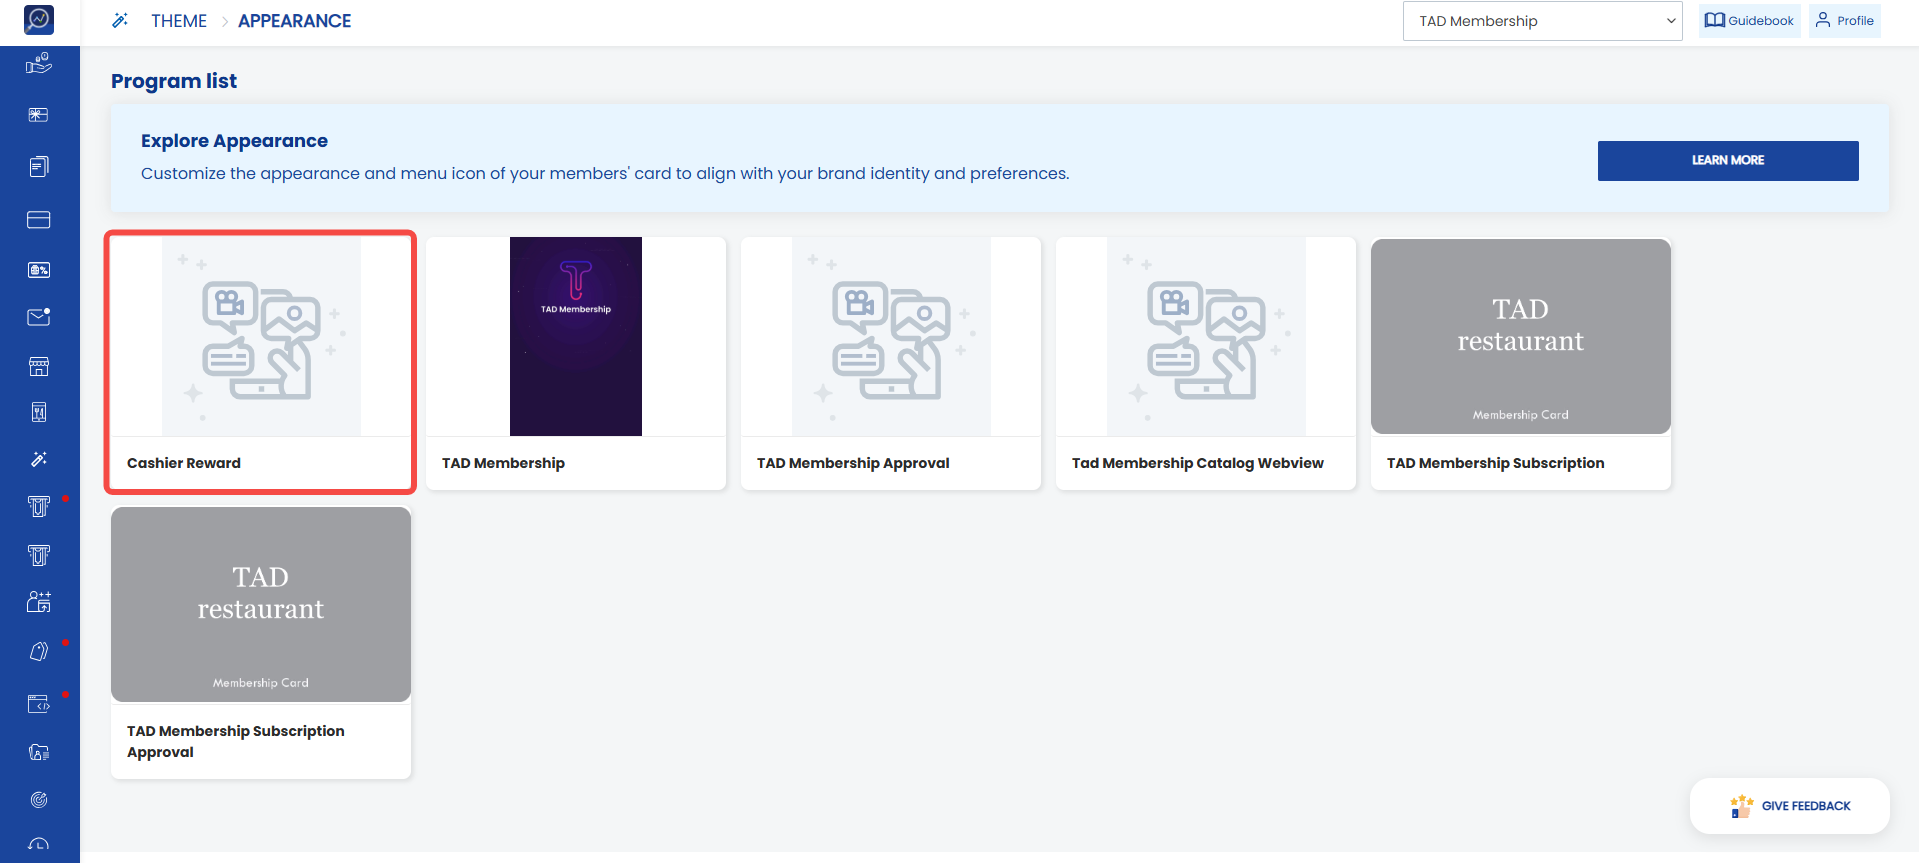 3. In the “Menu Setting” section, there are various menu types that can appear in the card detail.
List of menus that can be configured through the dashboard:
- Redeem: Displays items that can be redeemed using available points
- Missions: Displays missions that can be completed by users
- Privilege: Displays snap receipts, surveys, promotional information, and others to increase user engagement
- History: Displays the user's transaction history
- Shop: Displays items that can be purchased by users
- Store Location: Displays the complete list of stores owned by the client
- My Vouchers: Displays the list of vouchers owned by the user
- Referral: Displays the referral link page so users can share their referral links
- Order: Directs users to the Delivery Order menu to order food and beverages
- Scan to Earn: Displays the QR Code scanning page or unique code input page to earn rewards
- Pay: Displays the QR Code scanning page or store code input page for payment at specific merchants
- Transfer Point: Displays the recipient QR Code scanning page or recipient phone number input page for point transfers
- Scan QRIS: Displays the QRIS scanning page or QRIS upload page for payments
- Share Offer: Displays the offer link page that users can share
- Contact Us: Directs users to Tada Customer Service
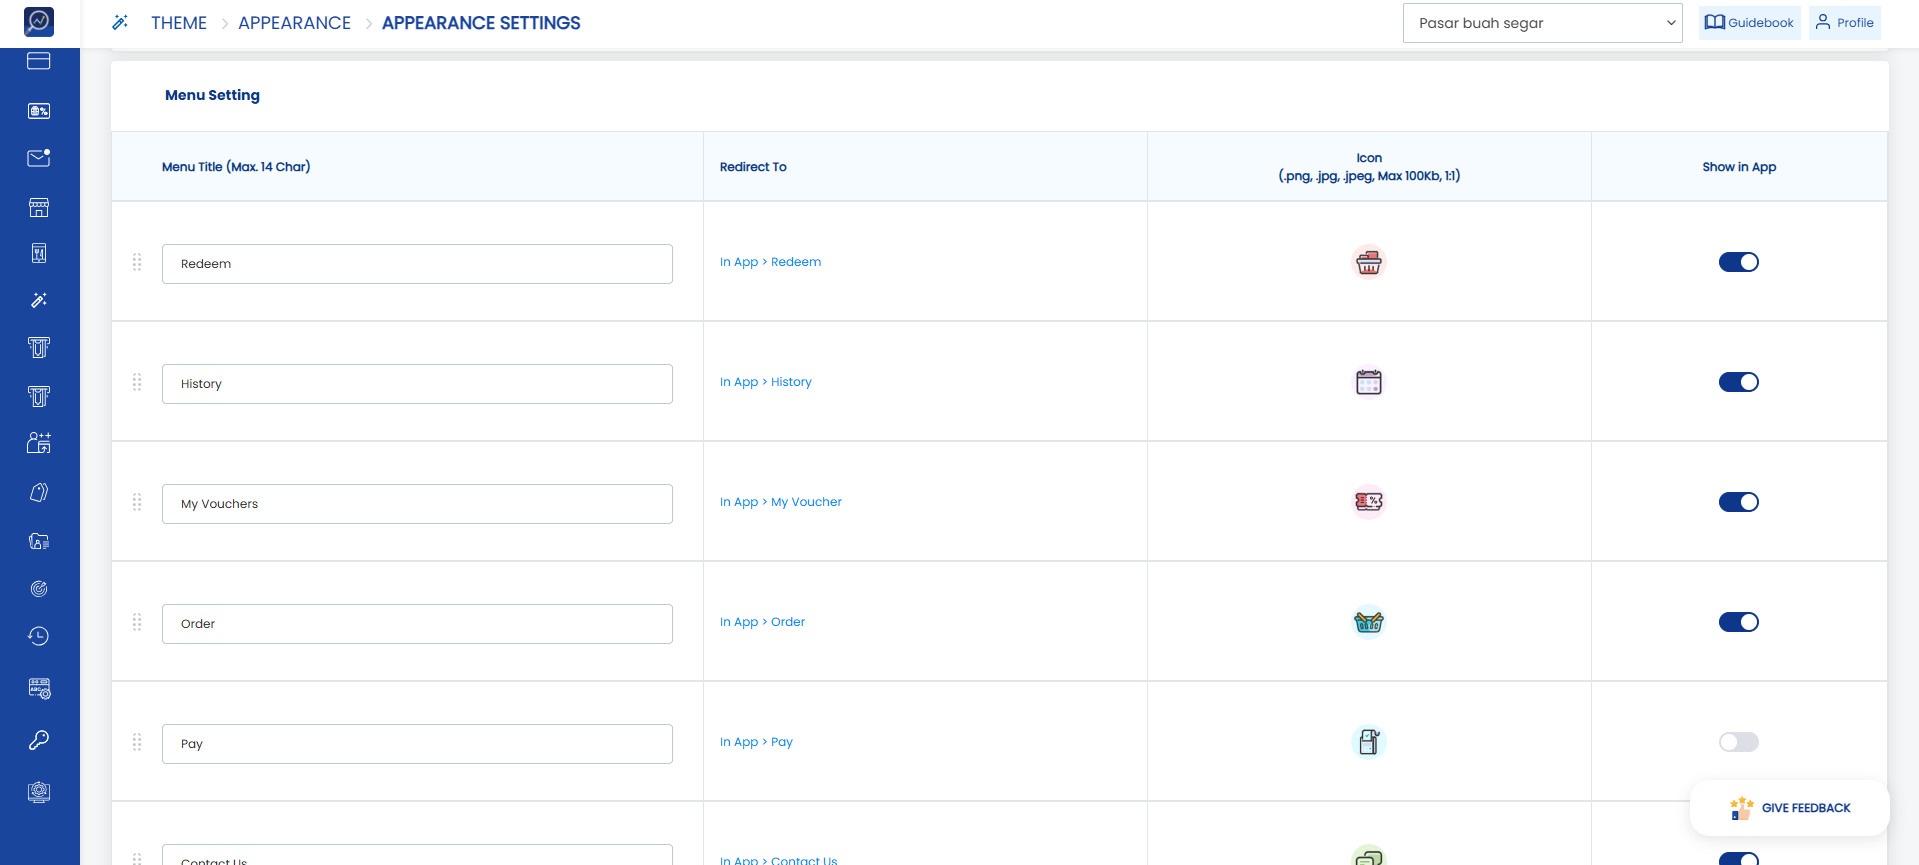 4. Disable the toggle in the “Show in app” column to hide a menu from the card detail and enable the toggle to display a menu in the card detail.
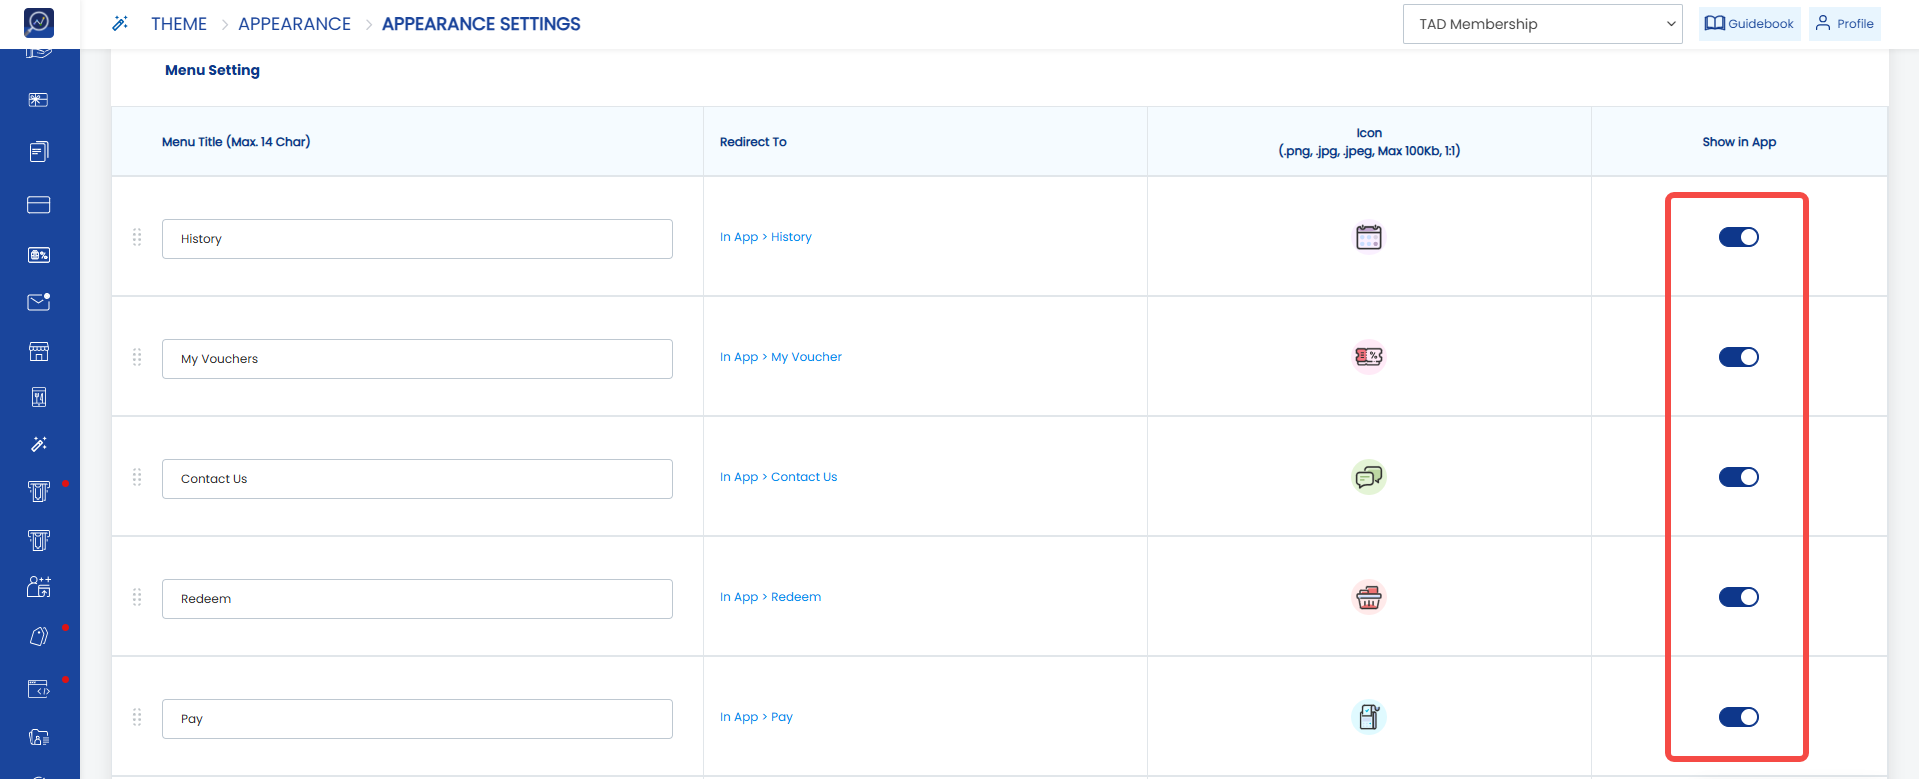 5. Click “Save”
How to Change the Menu Name/Icon on Card Detail
1. Open the “Themes” menu, then select “Appearance”.
2. Click the program that you want to modify.
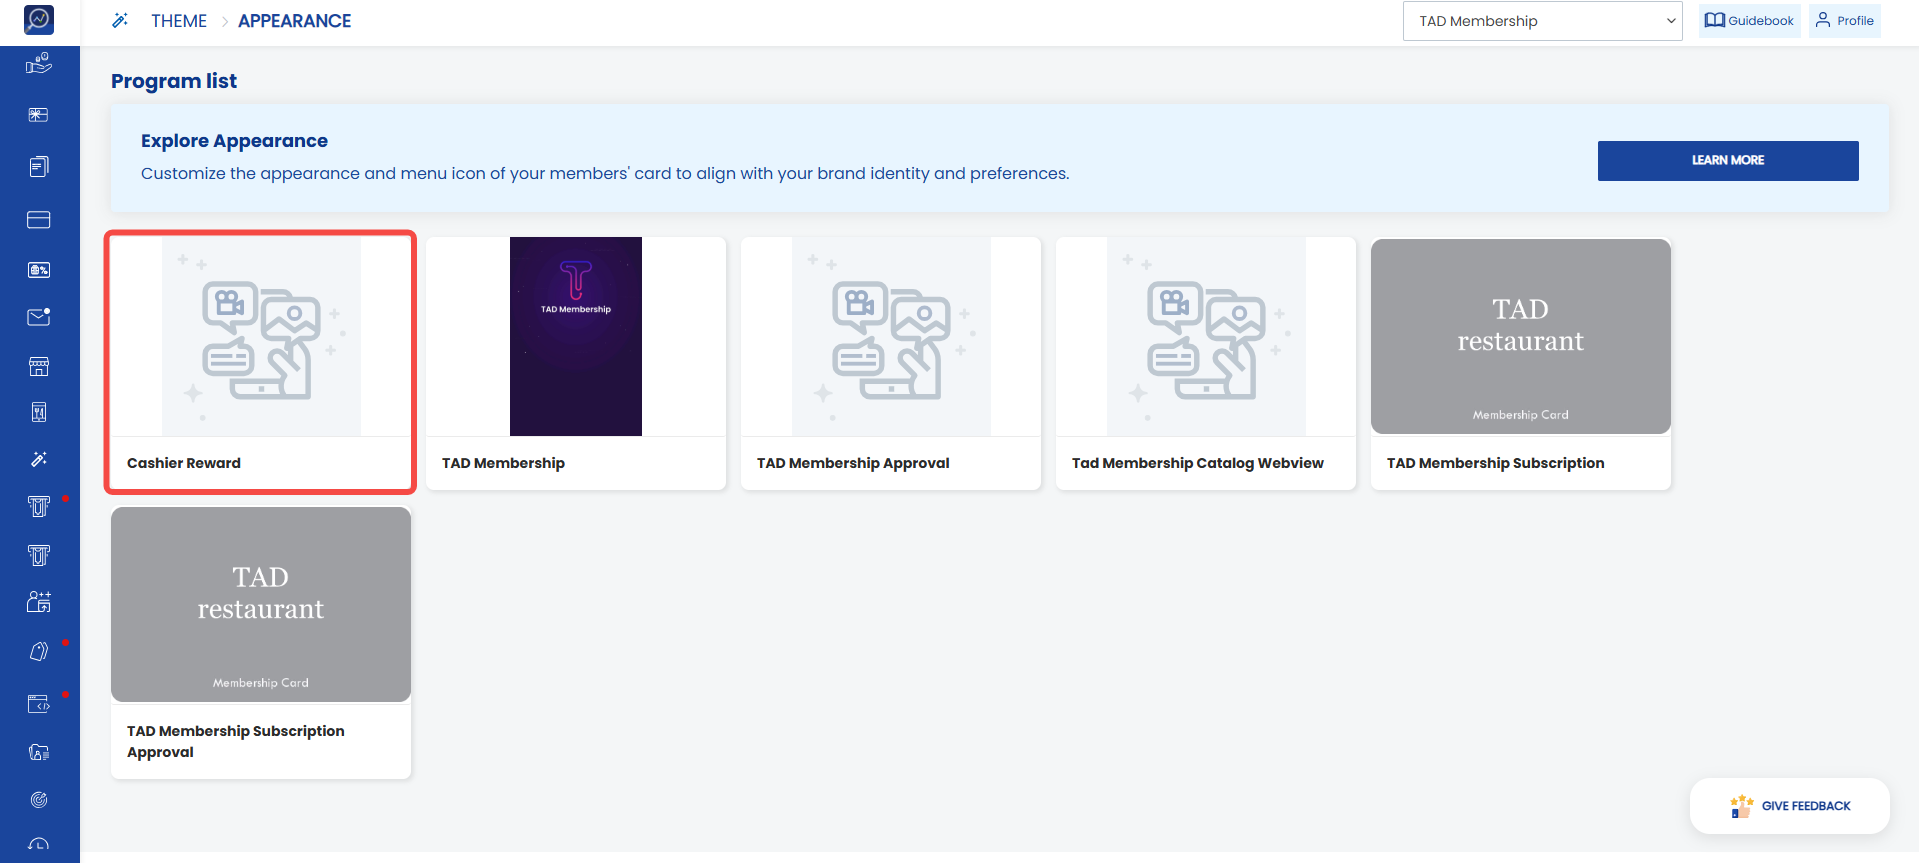 3. Change the menu name in the “Menu Title” section.
Note: The maximum menu title length is 14 characters.
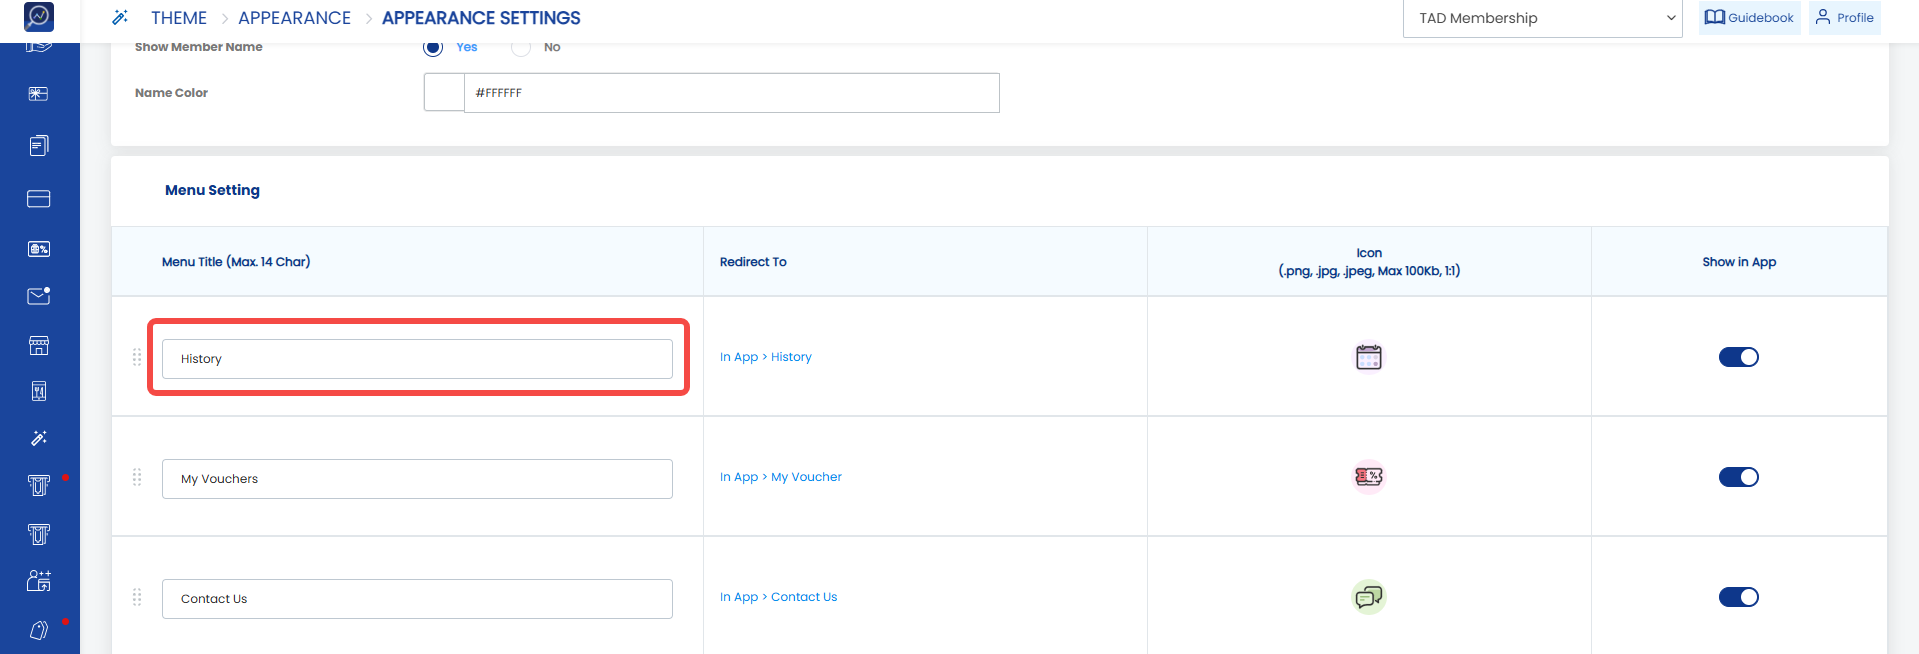 4. Click “Icon” to change the menu image. We recommend a 1:1 size ratio with a maximum size of 100 KB in .png, .jpg, or .jpeg format.
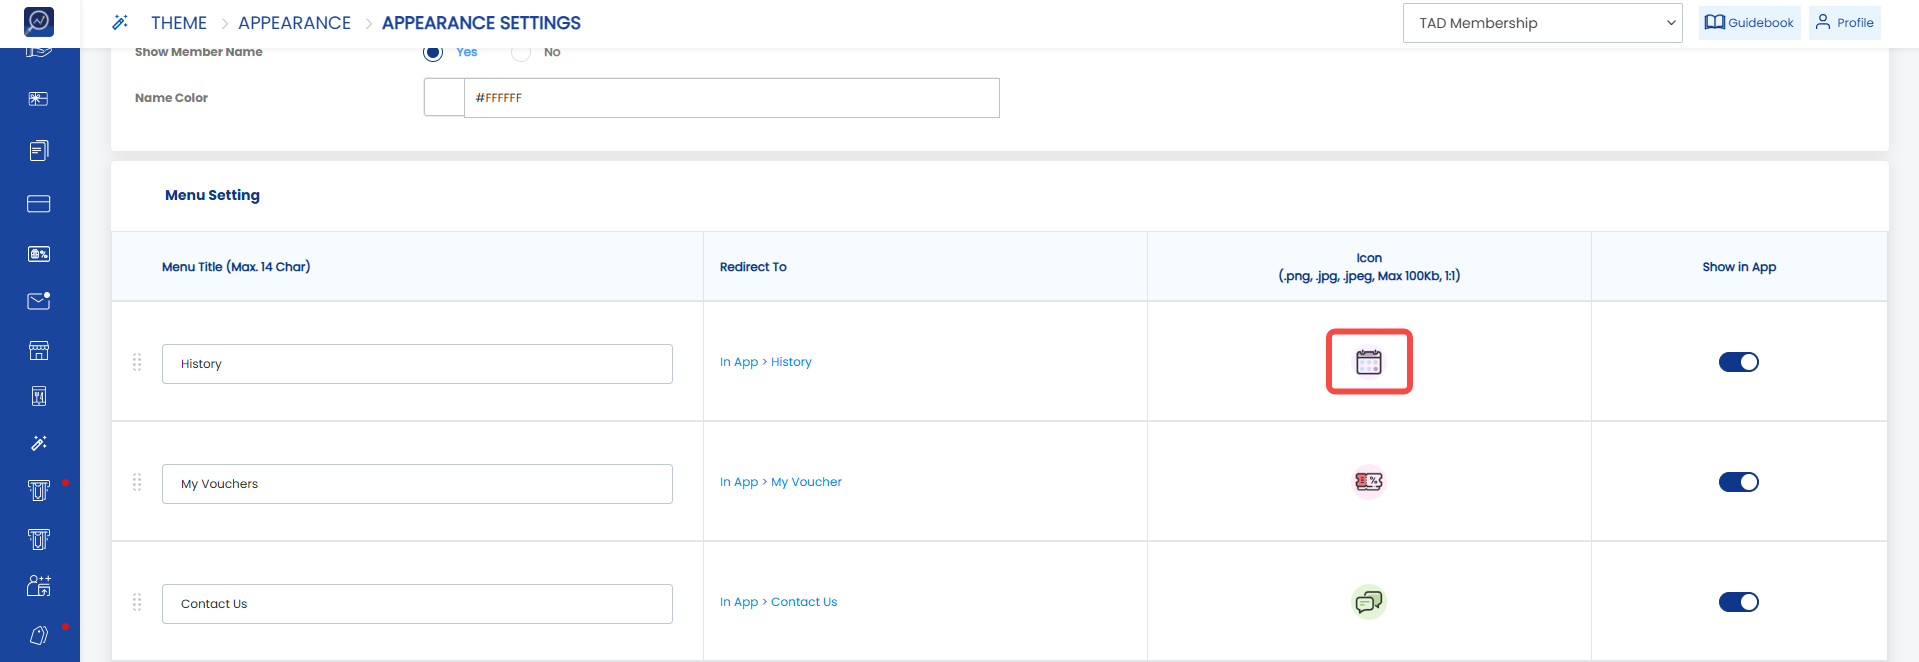 5. Click “Save” to save the changes.
How to Configure White Label Web (WLW)
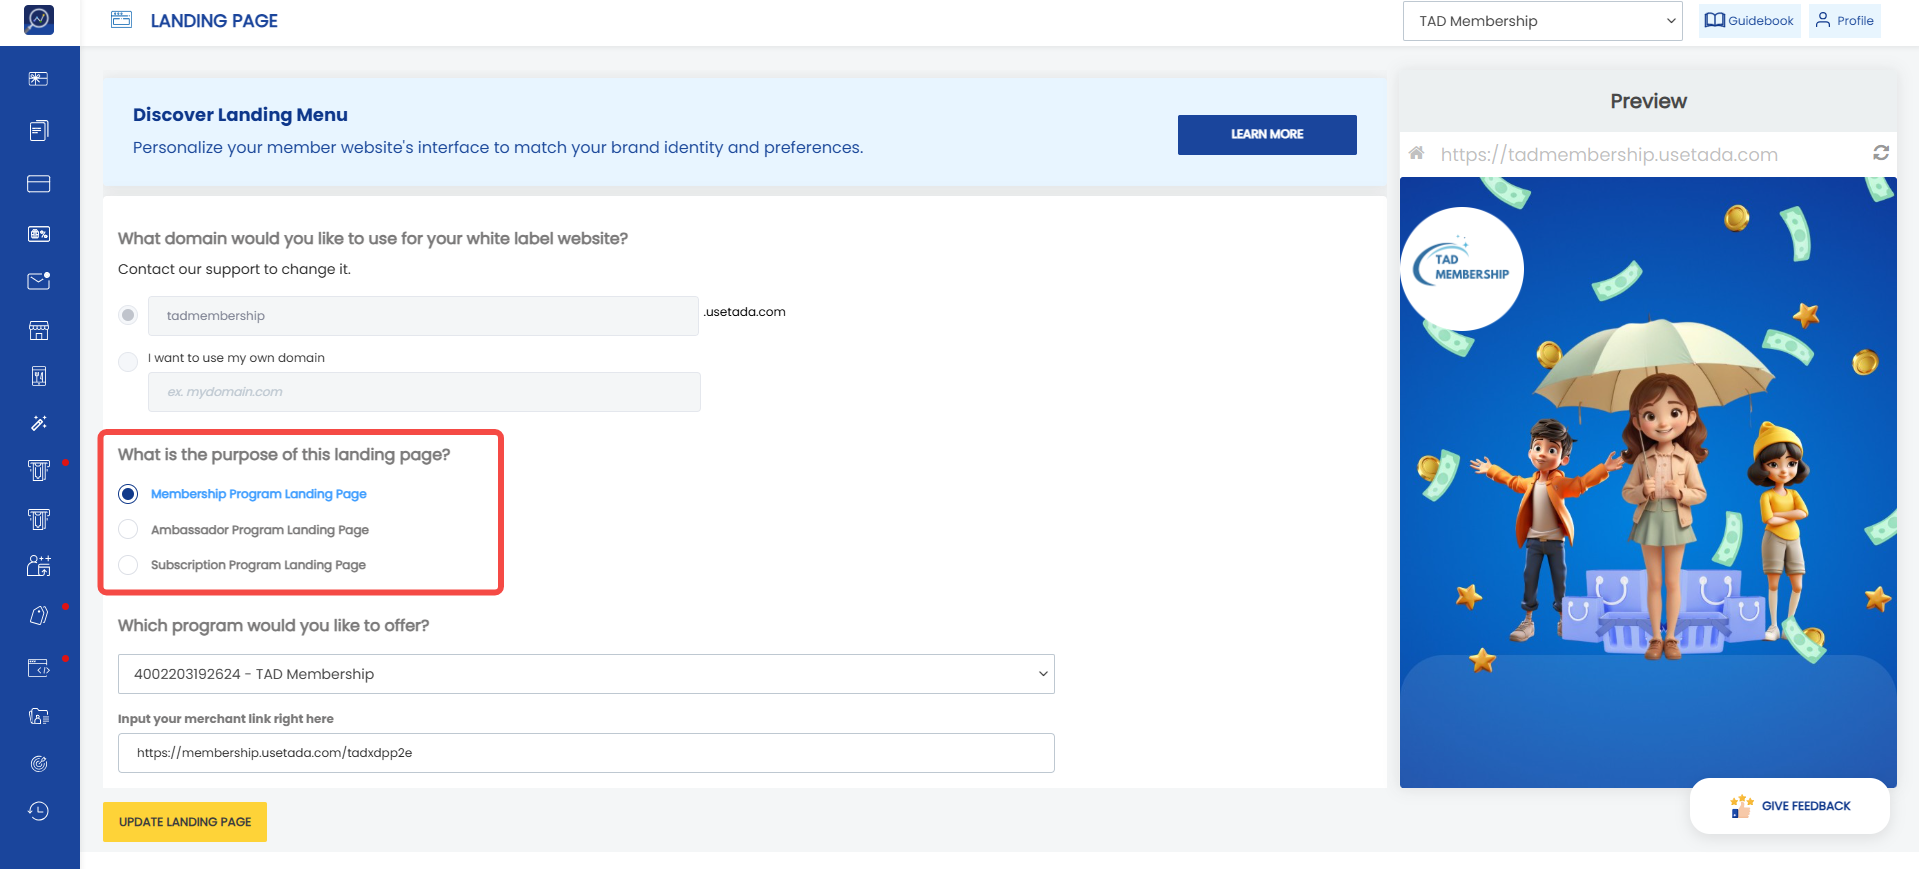
1. Determine the domain that will be used. The domain can be either a Tada domain or a domain owned by the brand.
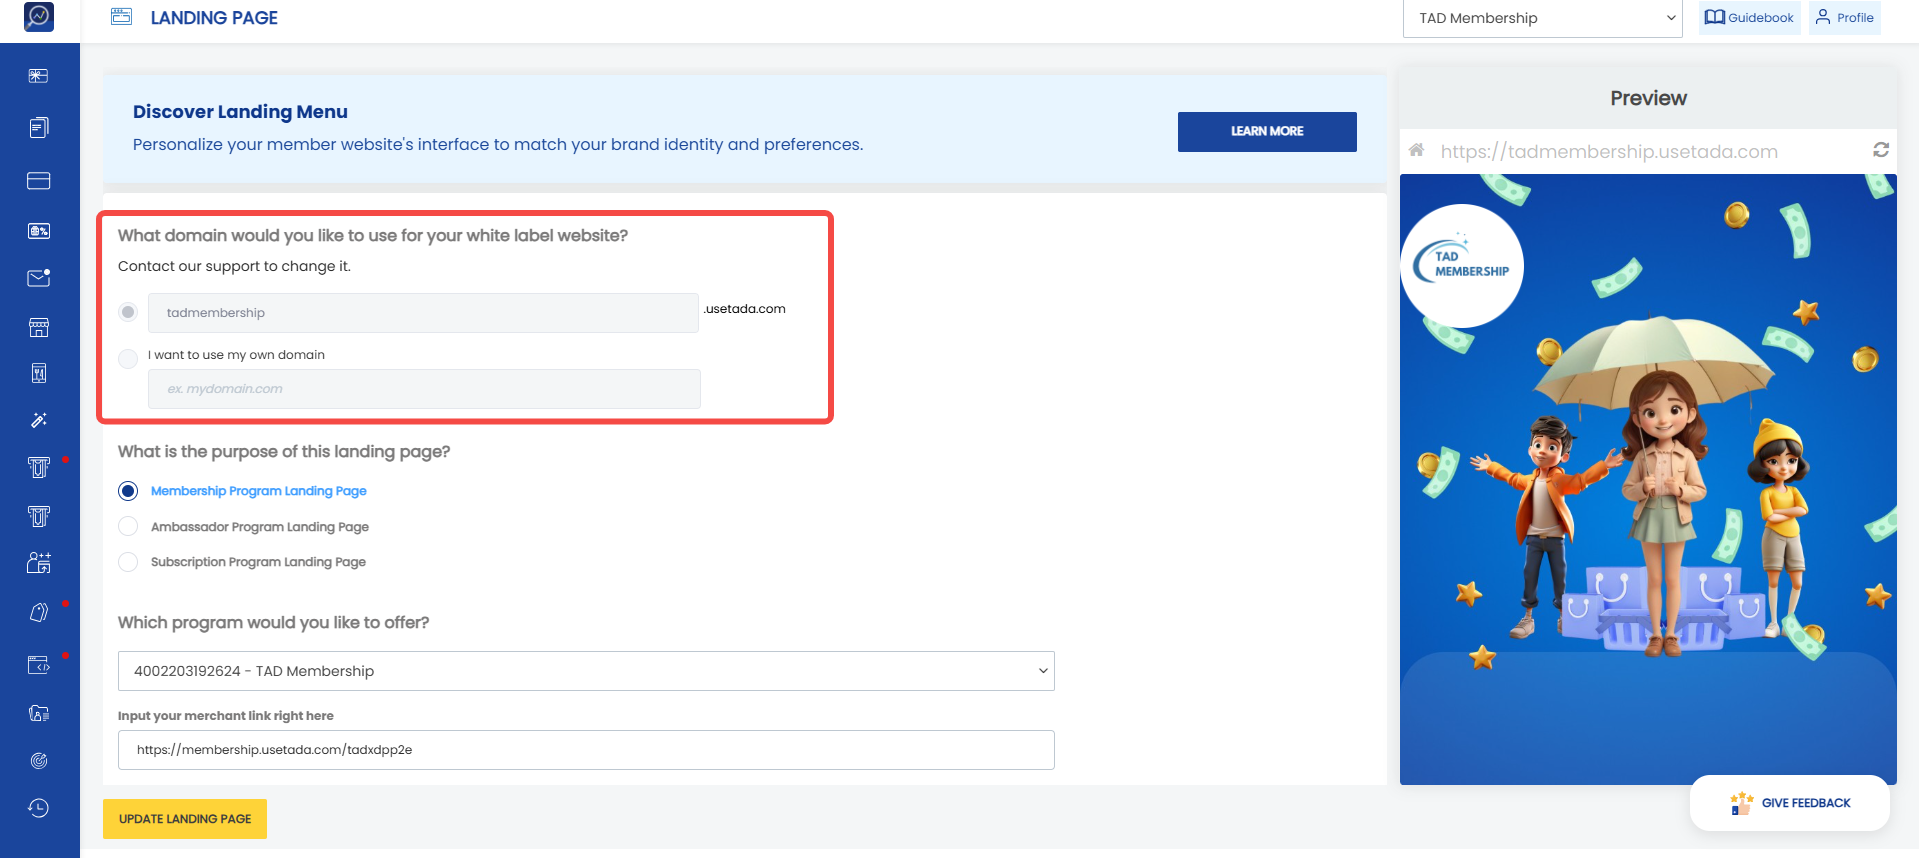 2. Select the purpose of creating the landing page.
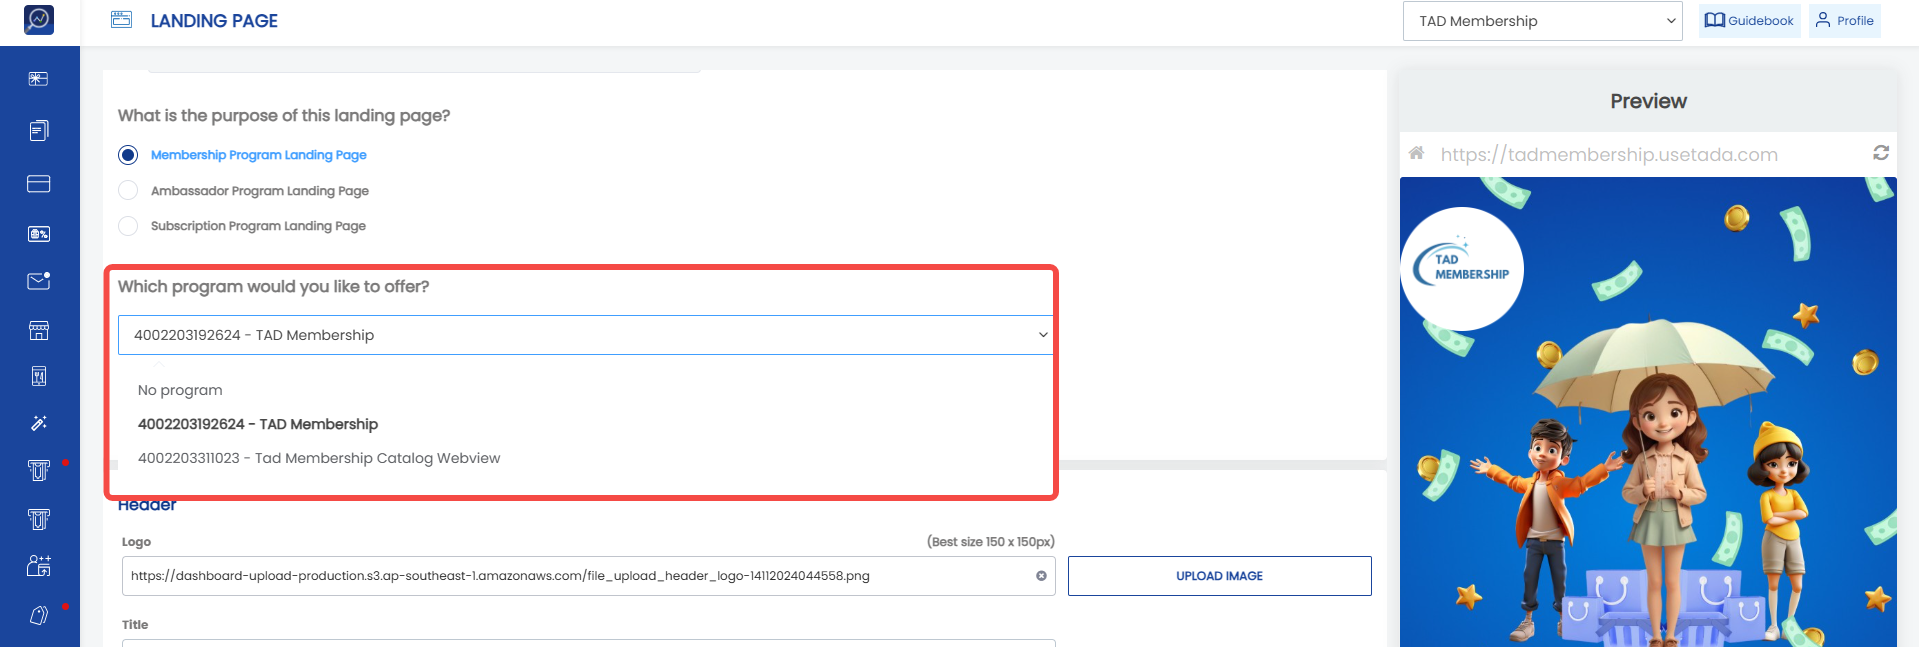
 3. Determine the membership program that will be provided to members after successful registration.
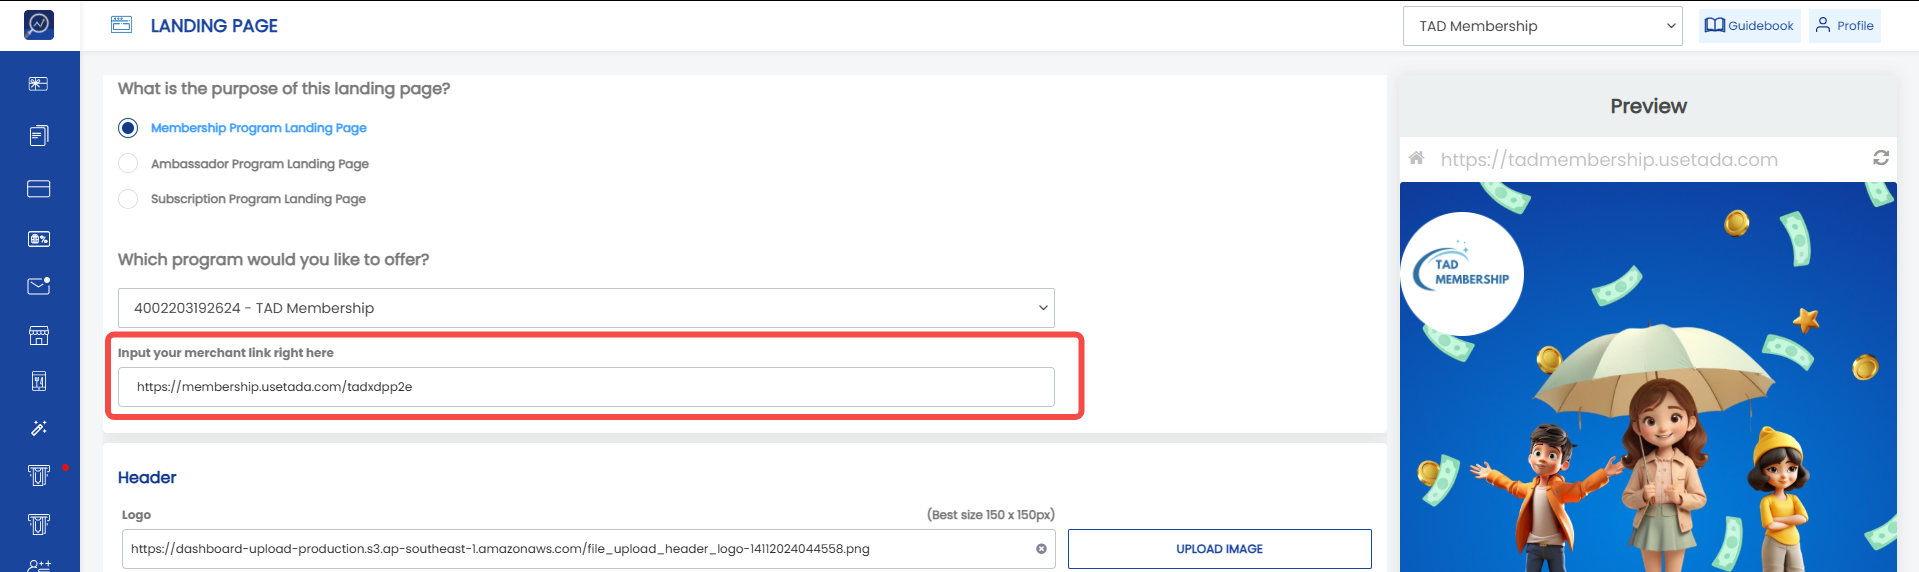
 4. Enter the merchant link that has been provided.
Creating the Landing Page Header
5. Unggah “Logo” yang akan muncul pada bagian atas landing page. Kami merekomendasikan ukuran 150 x 150 px.
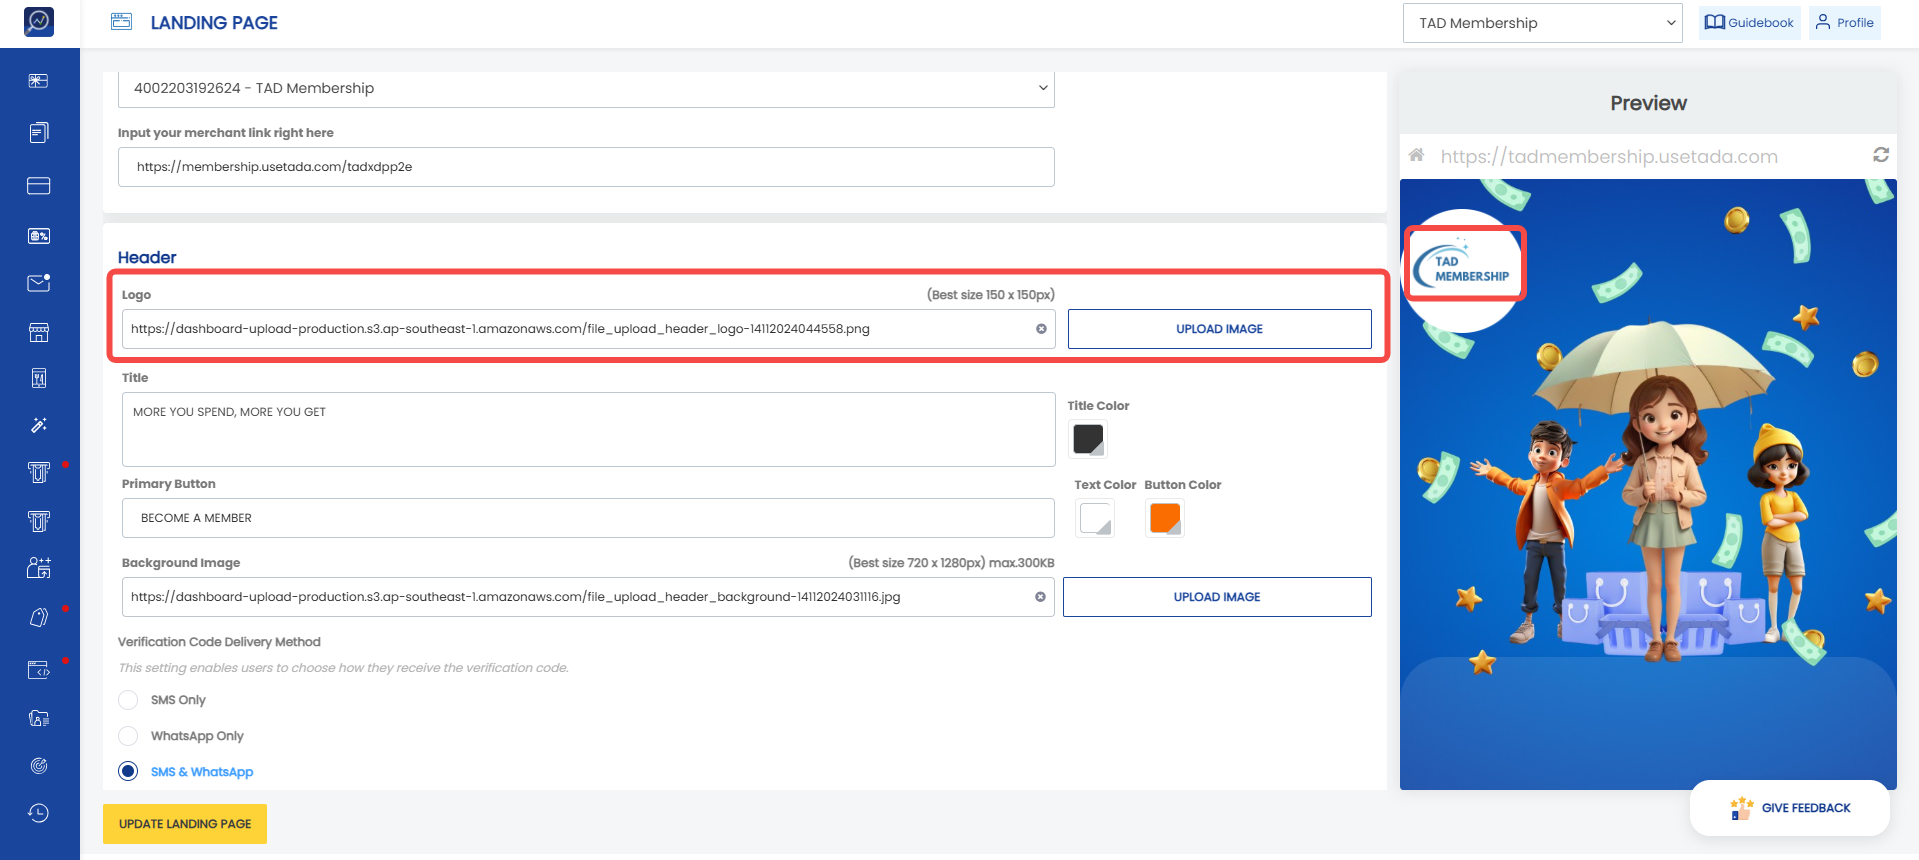 6. Enter the landing page “Title”. Change the landing page title color by clicking “Title Color”.
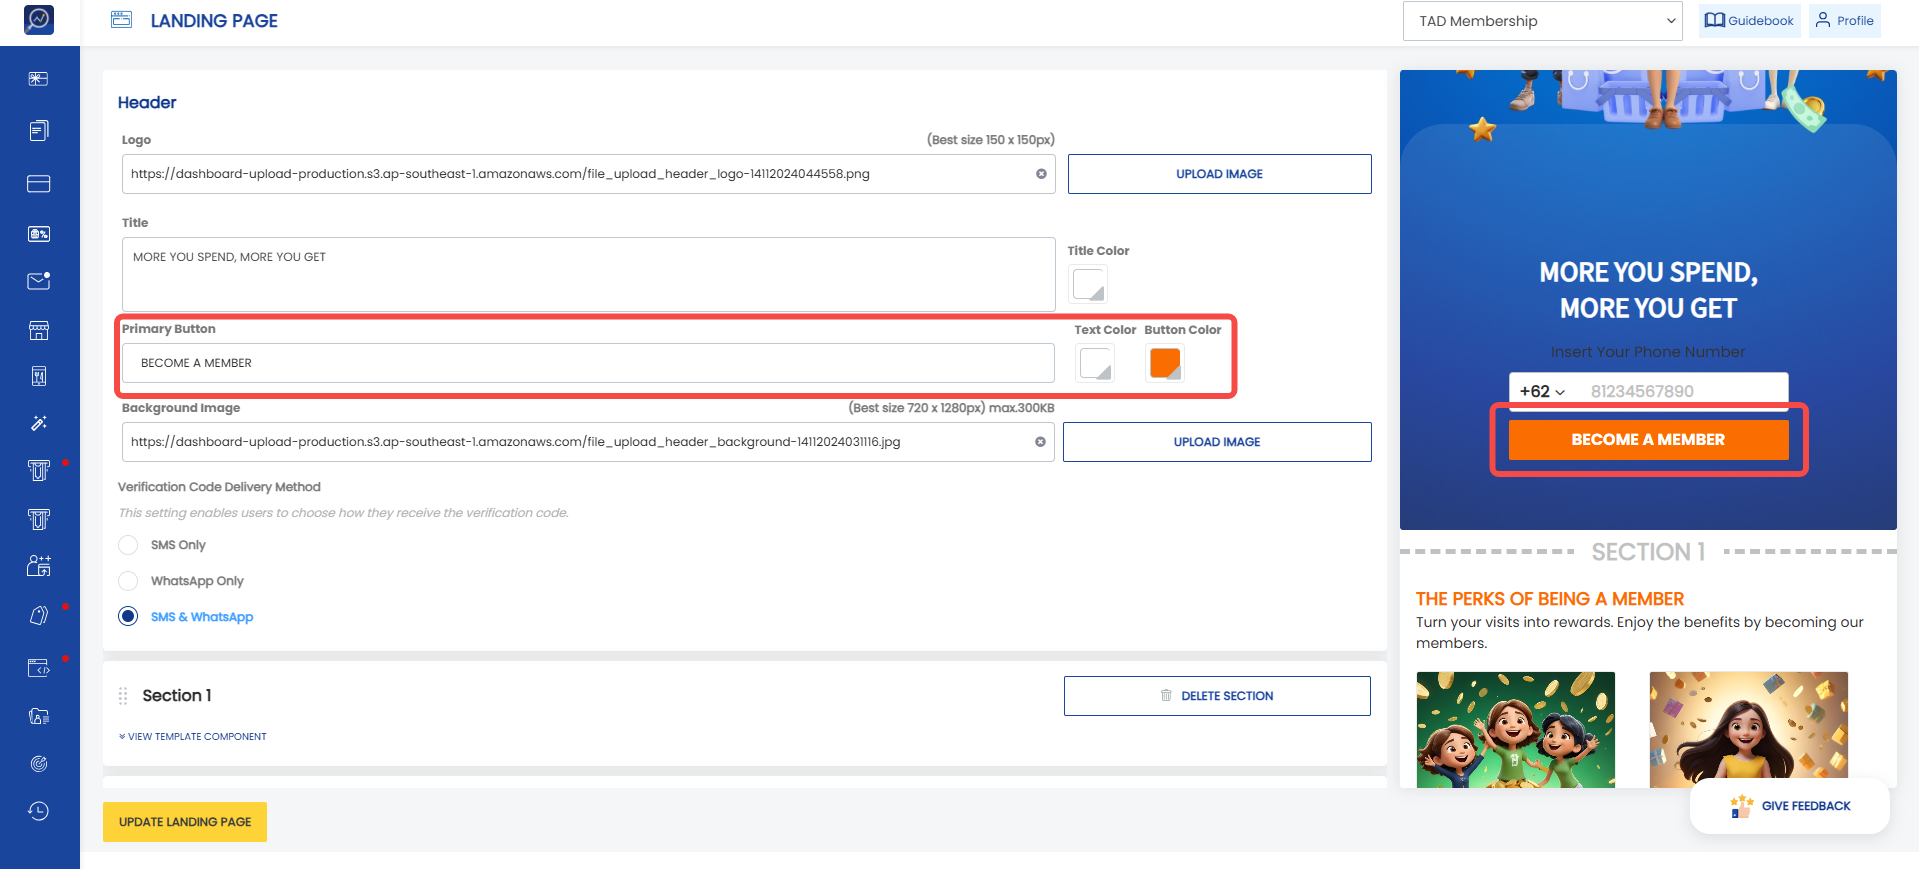
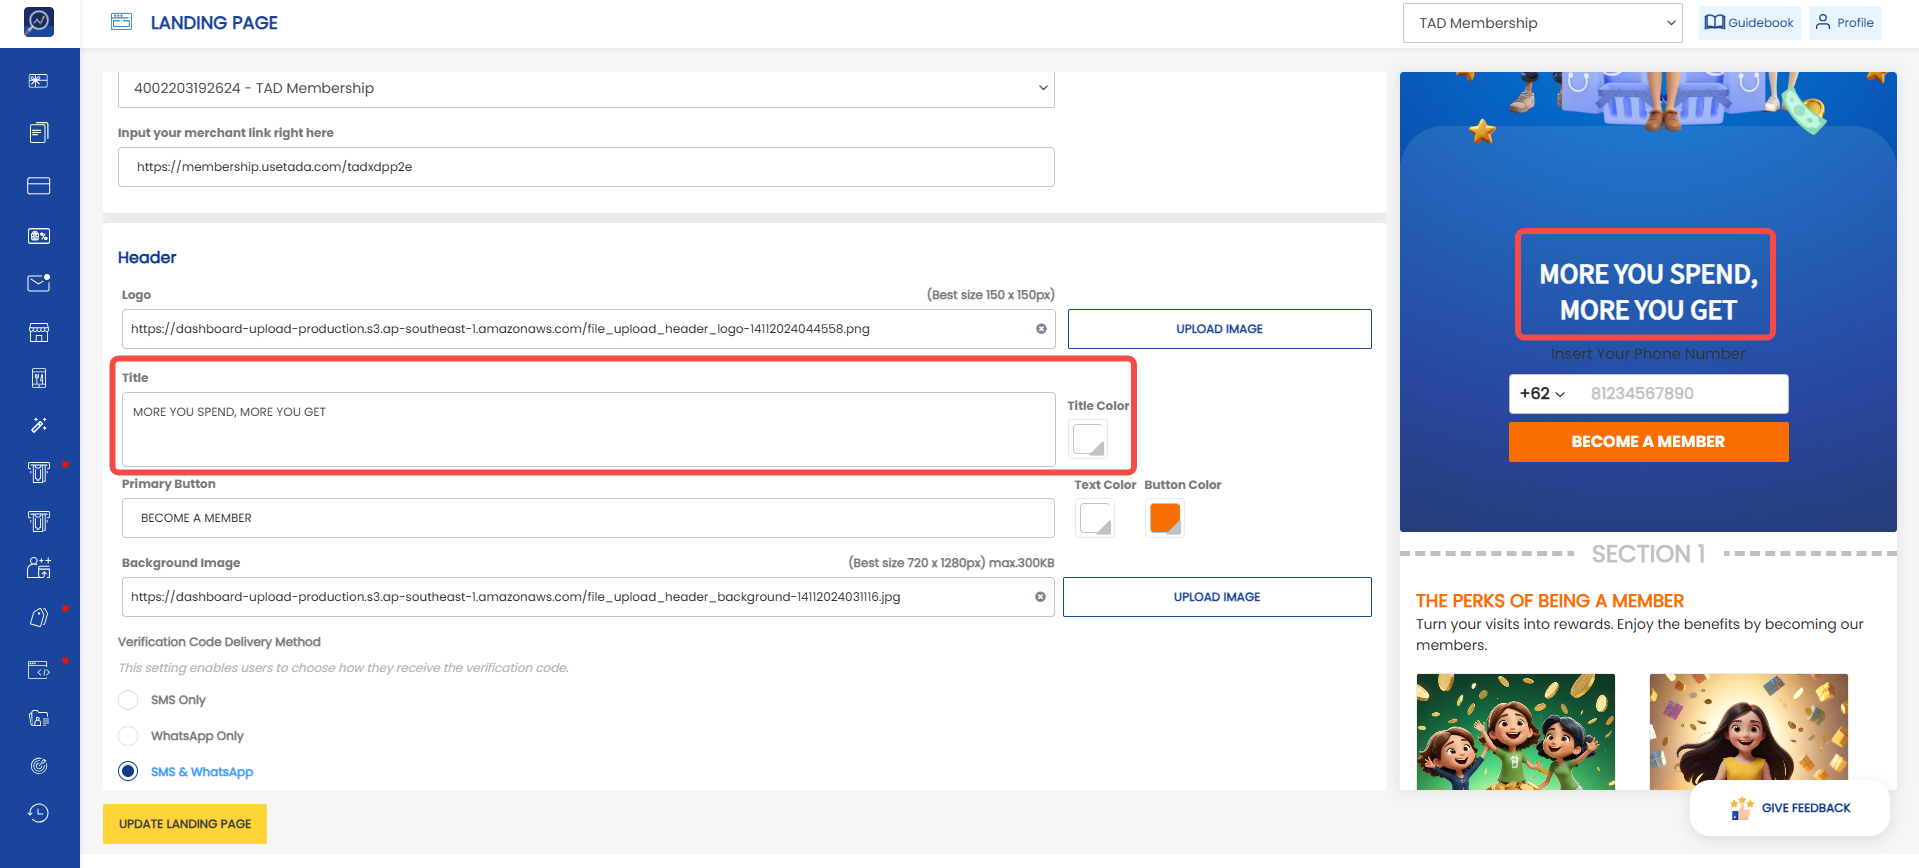 7. Determine the title for the “Primary Button” as the Call to Action (CTA) button that members will click after completing the identifier field (e.g., phone number). Change the text color in “Text Color” and change the button color in “Button Color”.
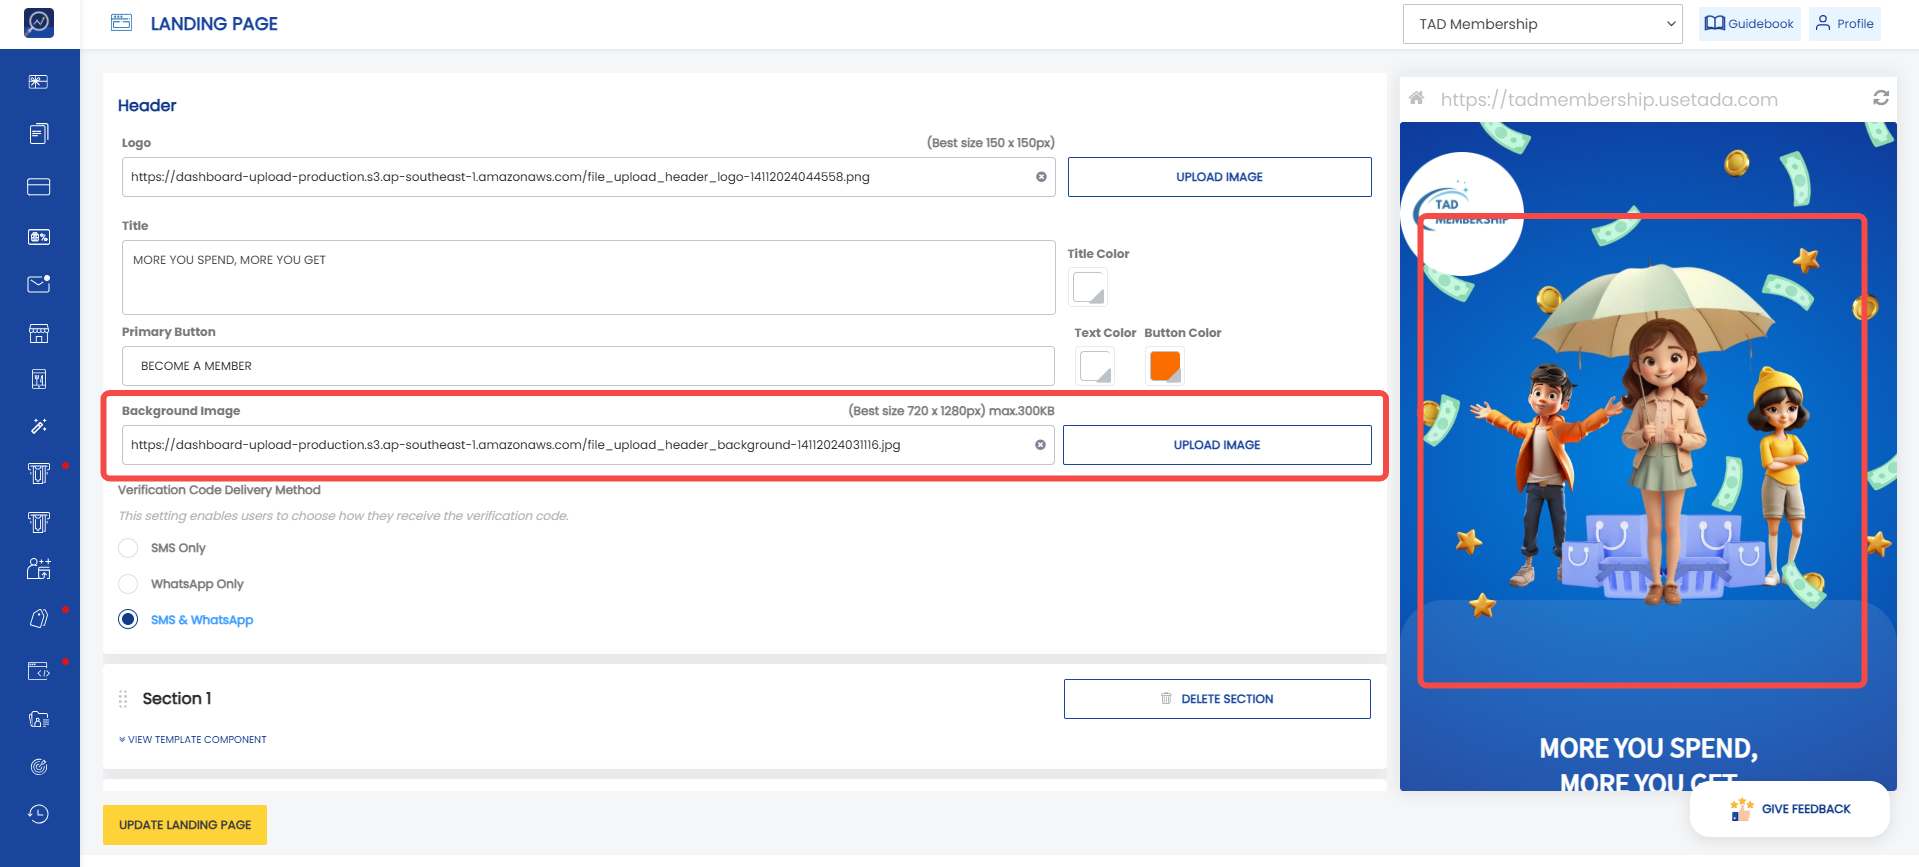
 8. Upload the landing page background image in “Background Image”. We recommend an image size of 720 x 1280 px with a maximum size of 300 KB.
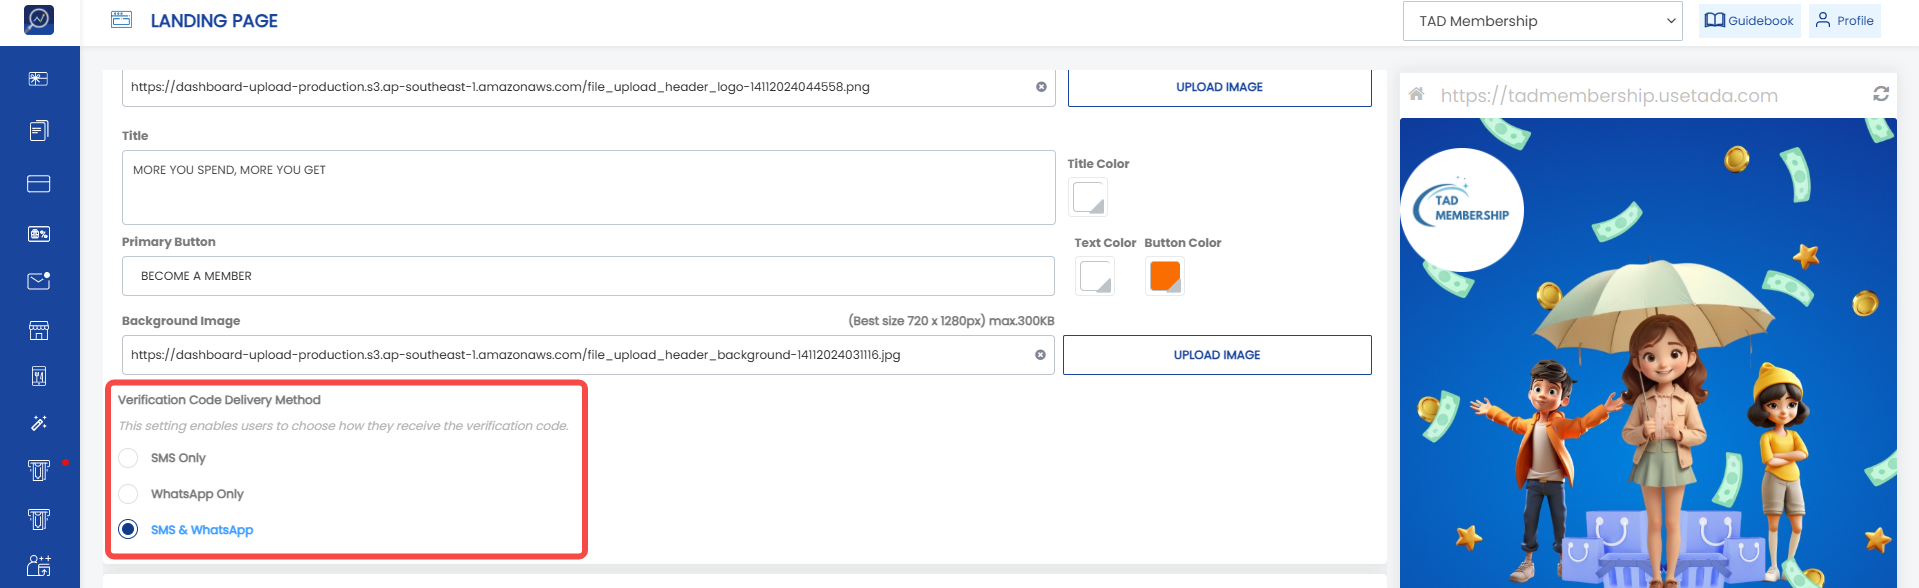
 9. Determine the verification code delivery method in “Verification Code Delivery Method”.
Creating Landing Page Sections (Maximum 3 Sections)
10. Select the template to be used in “Choose Template”.
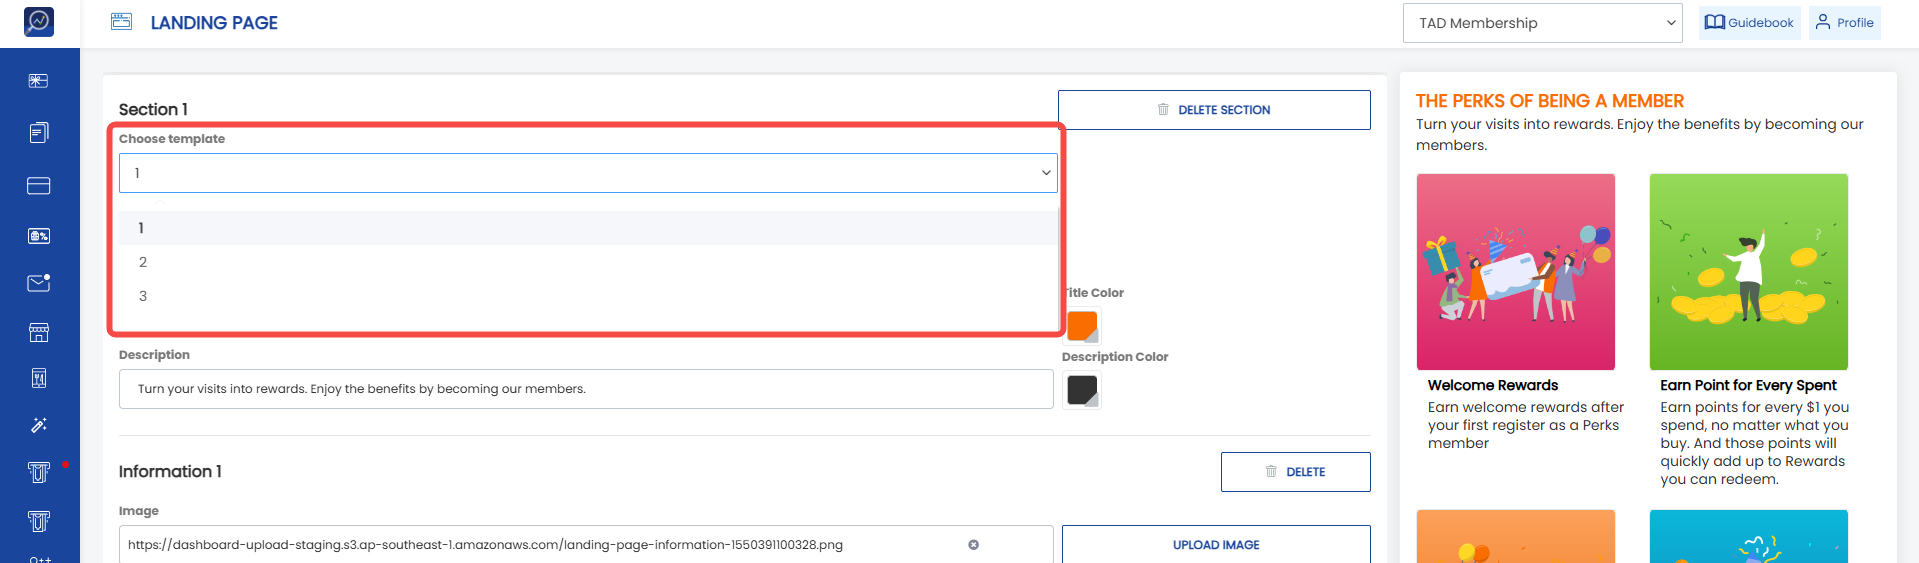 11. Change the section background color in “Background Color”.
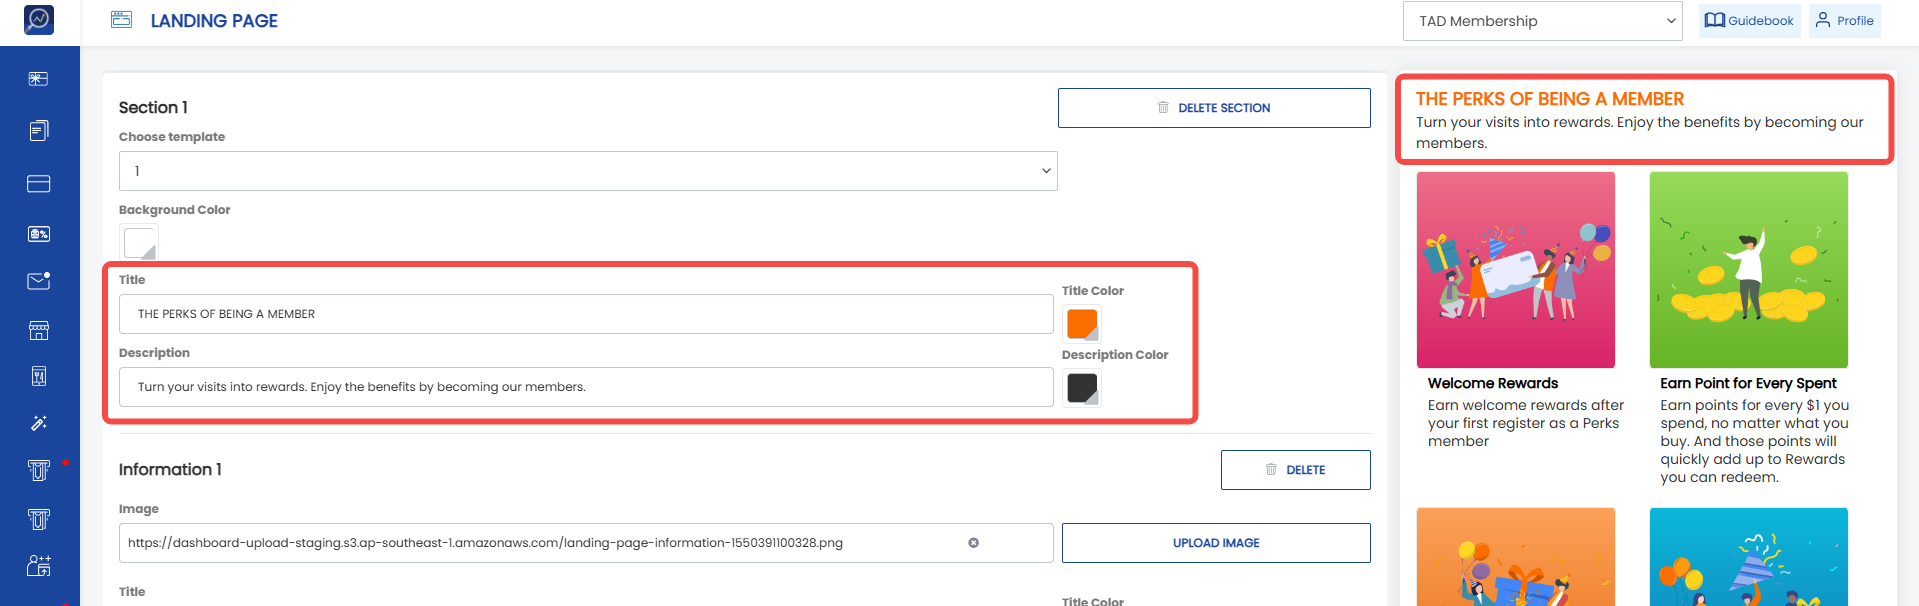
12. Enter the section title and description in “Title” and “Description”.
13. Change the title text color in “Title Color” and change the description text color in “Description Title”.
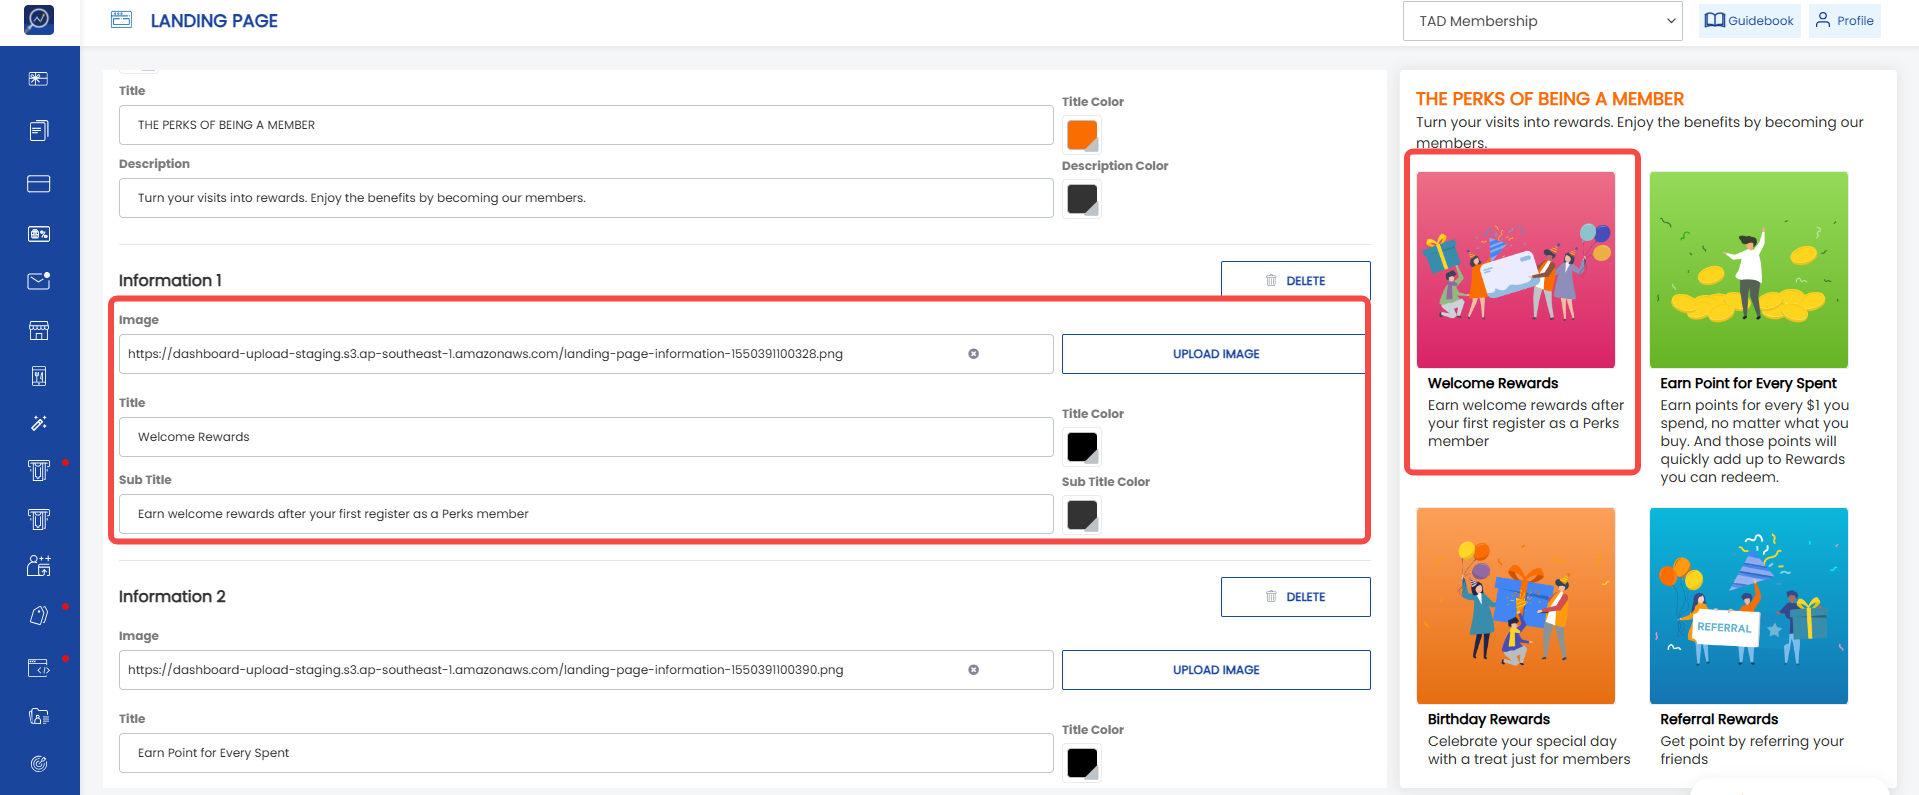
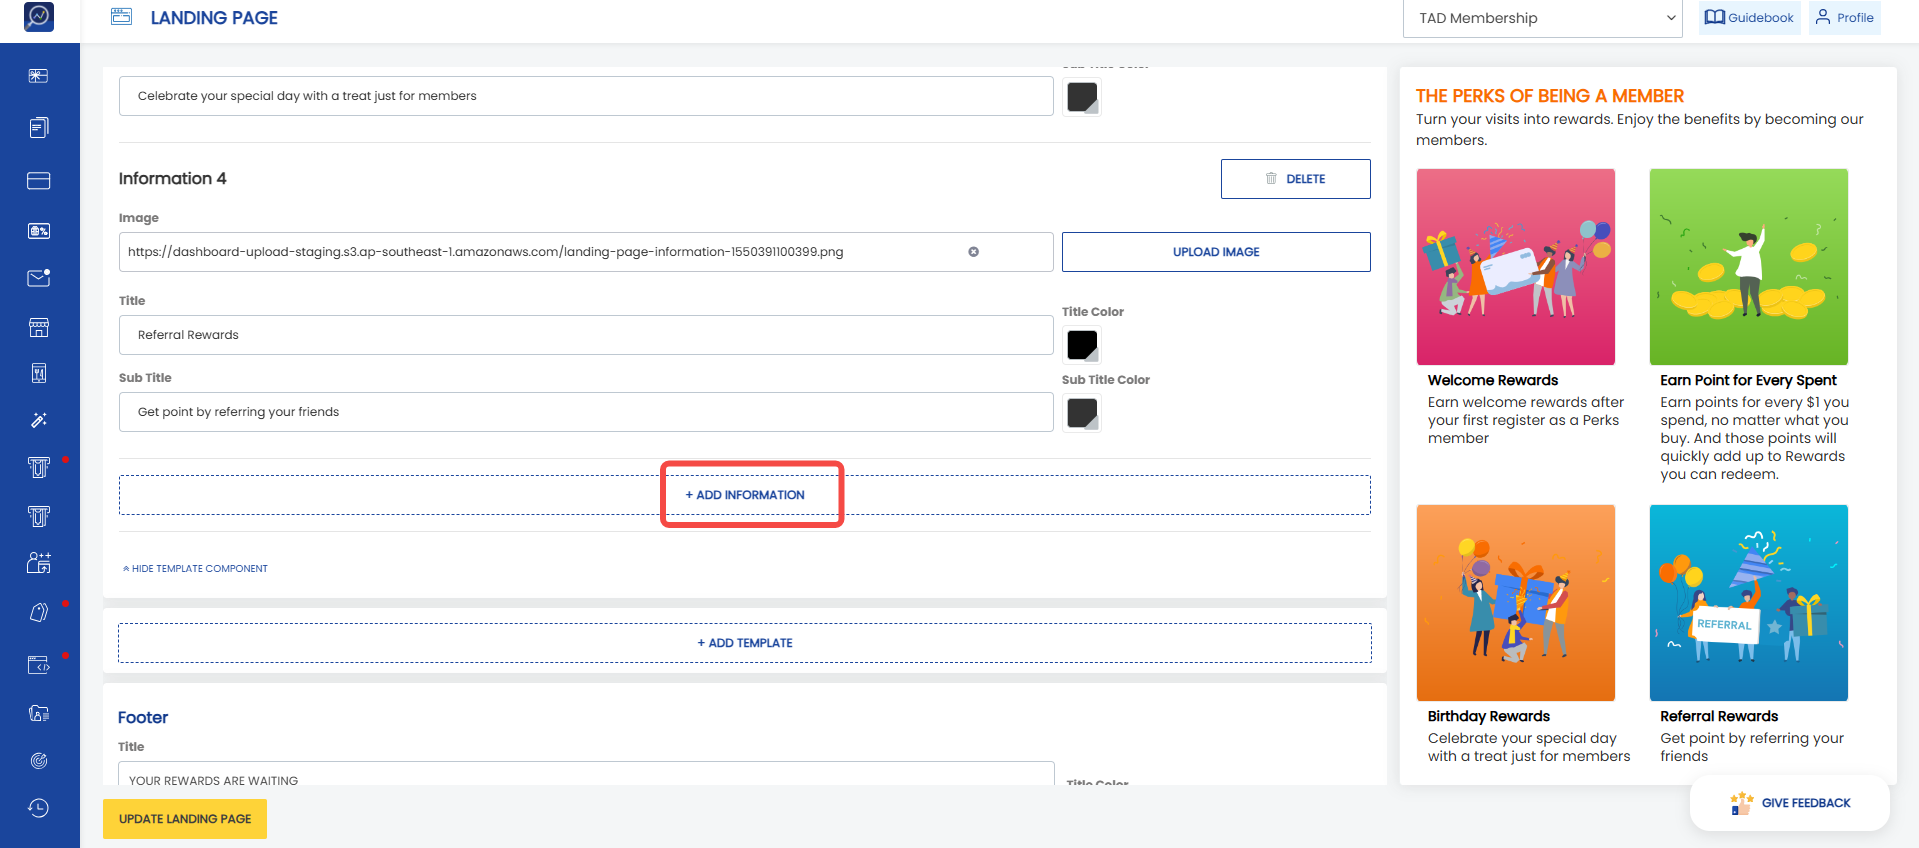
 14. Complete the information displayed in the created section. Upload an image for each information item in “Image”.
15. Enter the information title in “Title” and change the text color in “Title Color”.
16. Enter the information subtitle in “Subtitle” and change the text color in “Sub Title Color”.
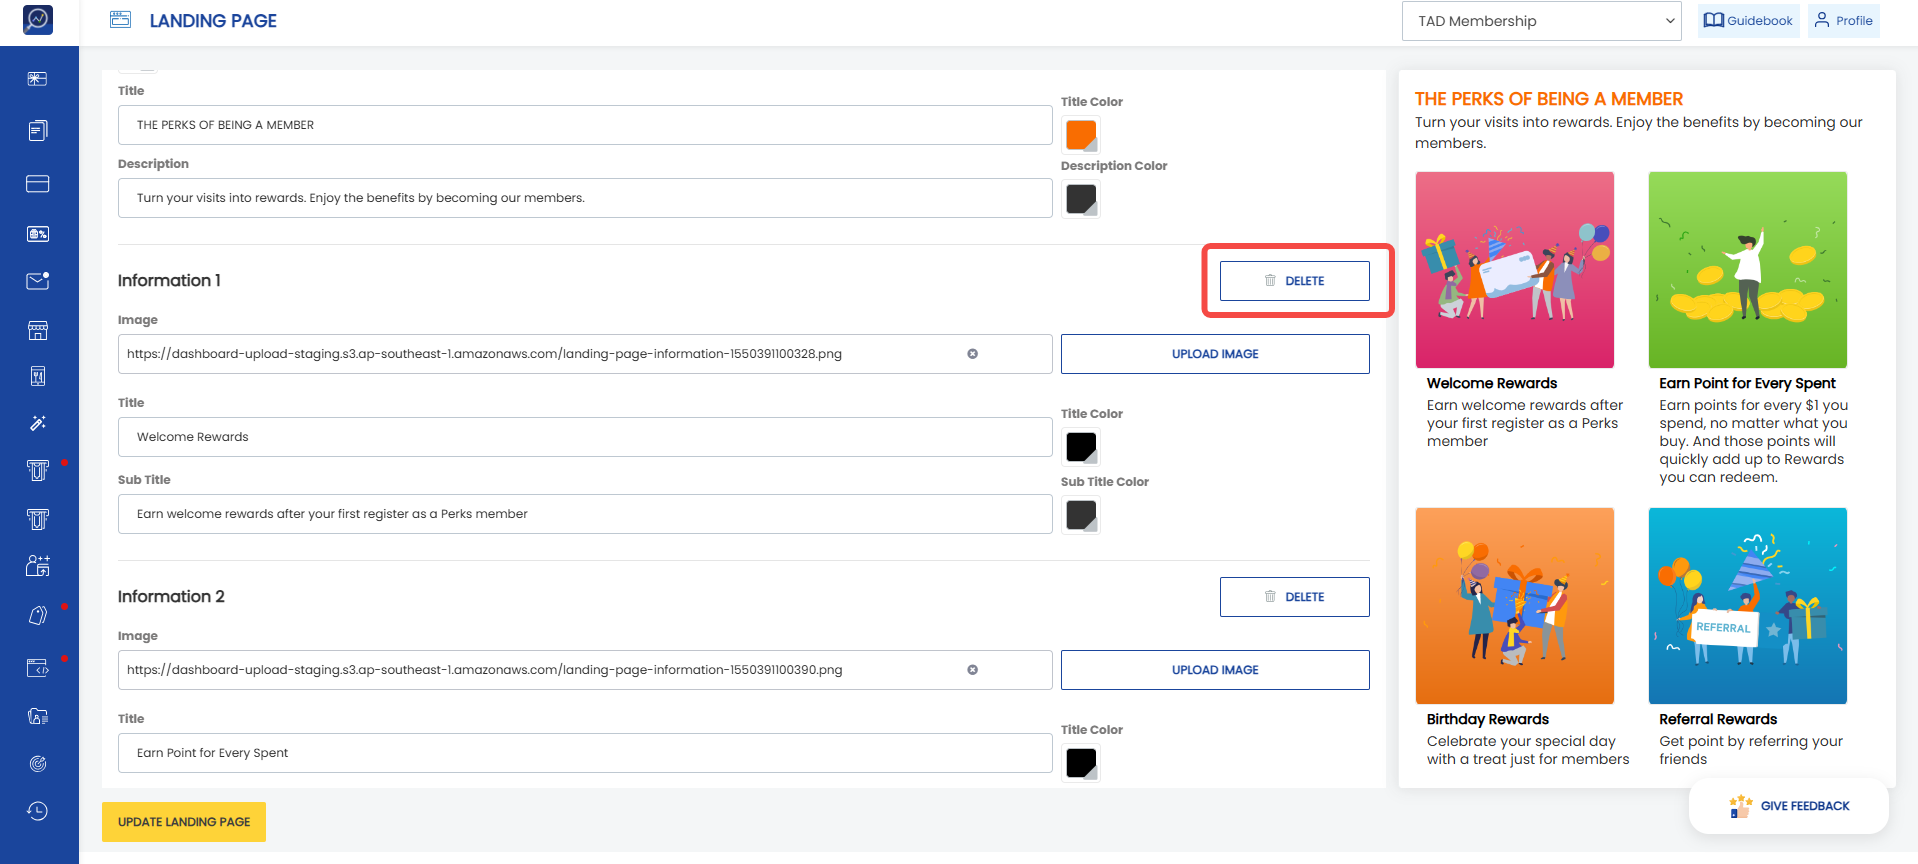
 17. Delete an information section by clicking the “Delete” button.
 18. Click “+Add Information” to add information displayed in the section.
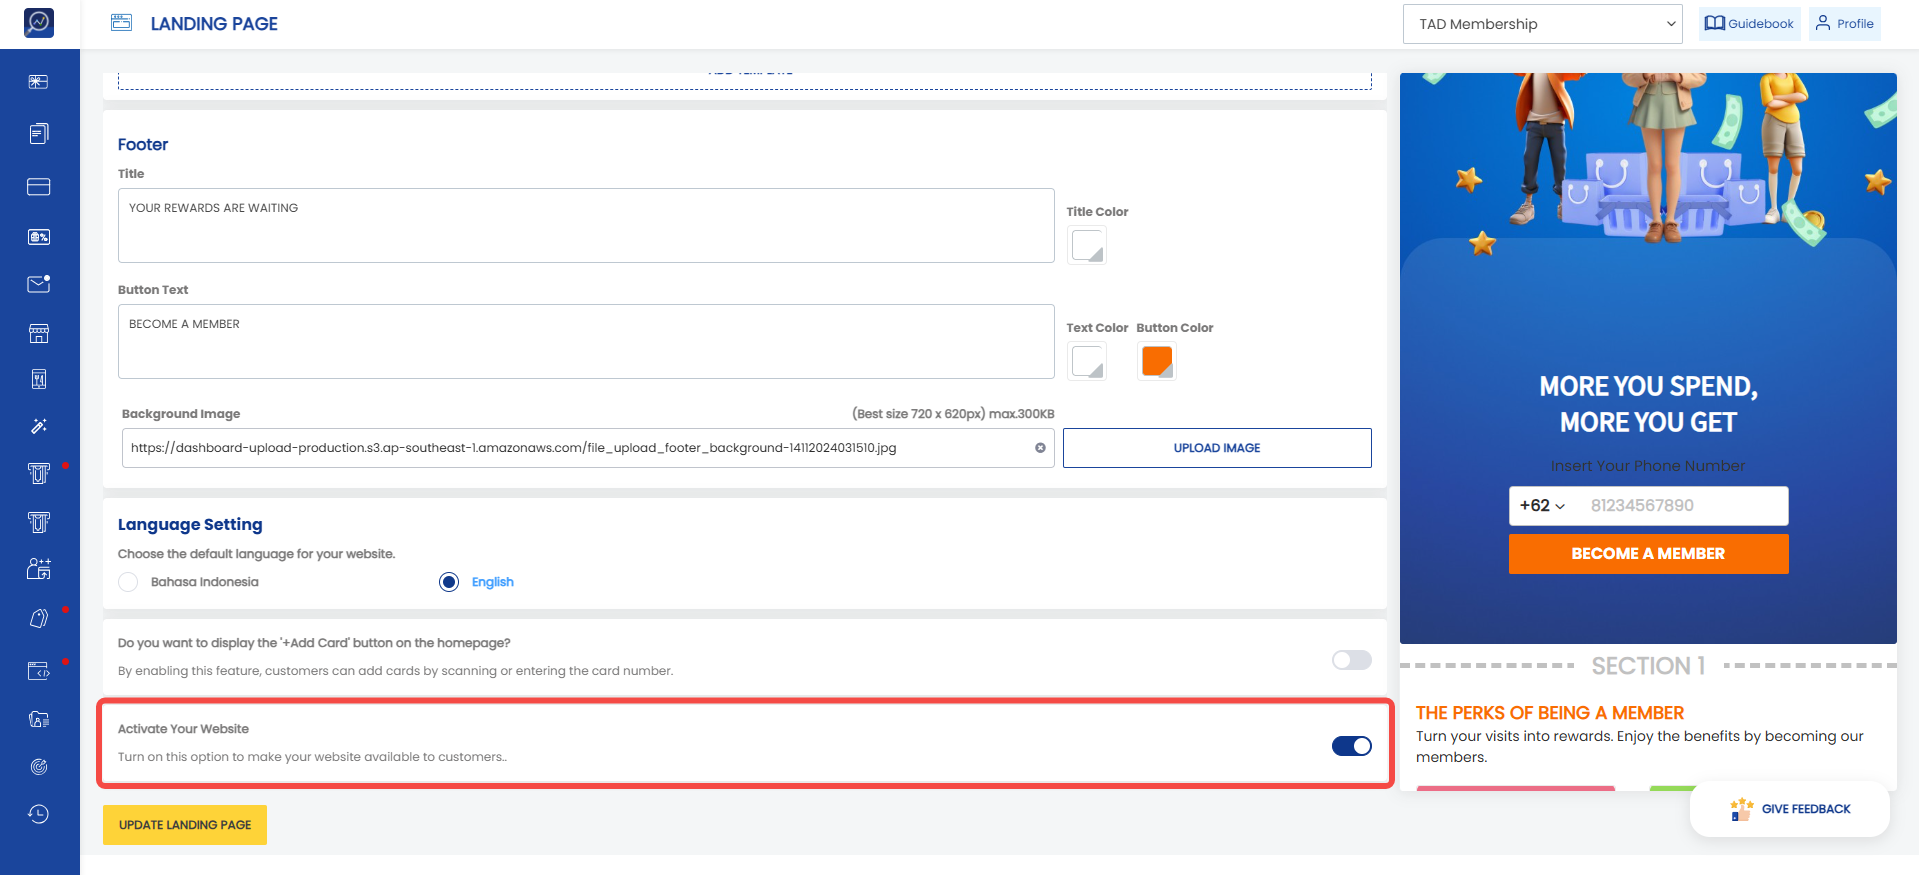
Creating the Landing Page Footer
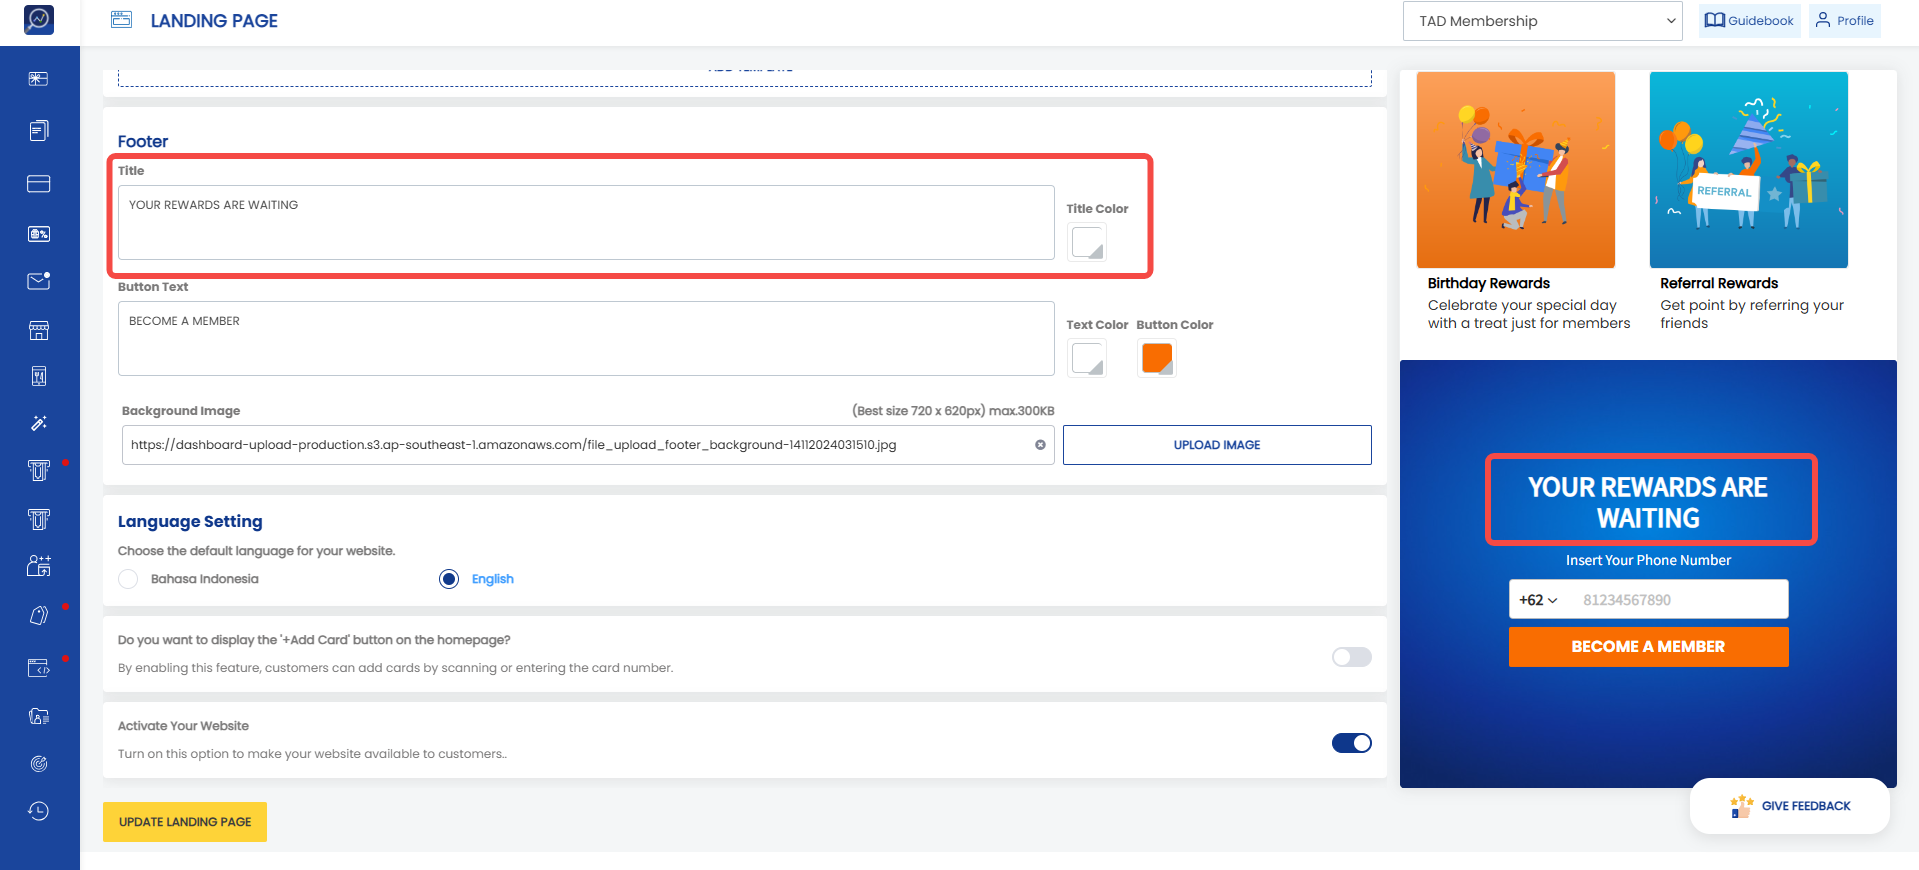
19. Enter the footer title in “Title” and change the text color in “Title Color”.
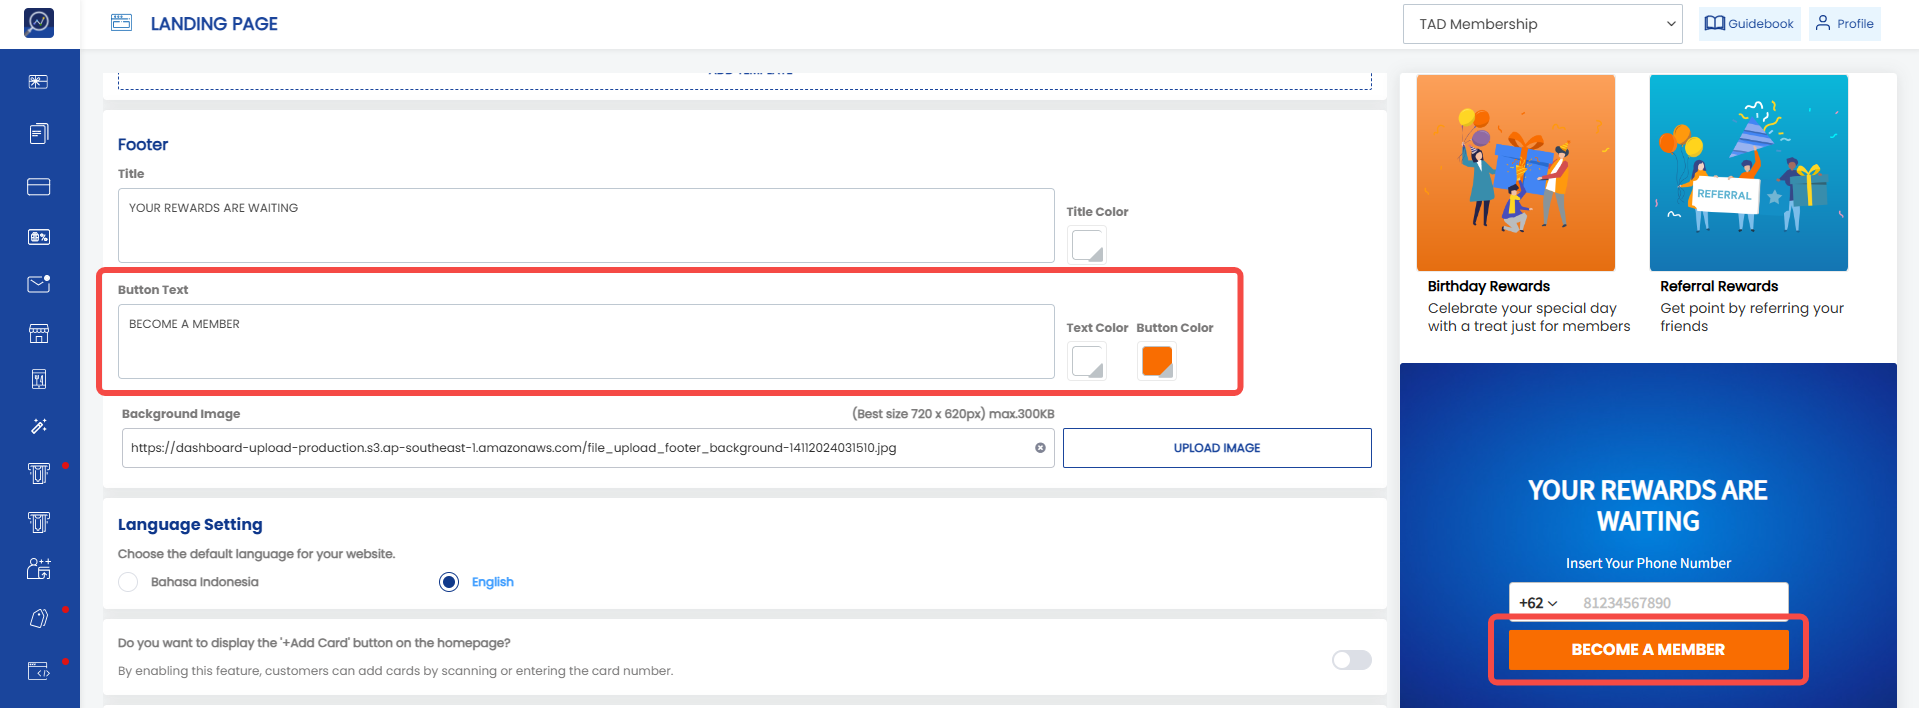
 20. Determine the title for the “Primary Button” as the Call to Action (CTA) button that members will click after completing the identifier field (e.g., phone number). Change the text color in “Text Color” and change the button color in “Button Color”.
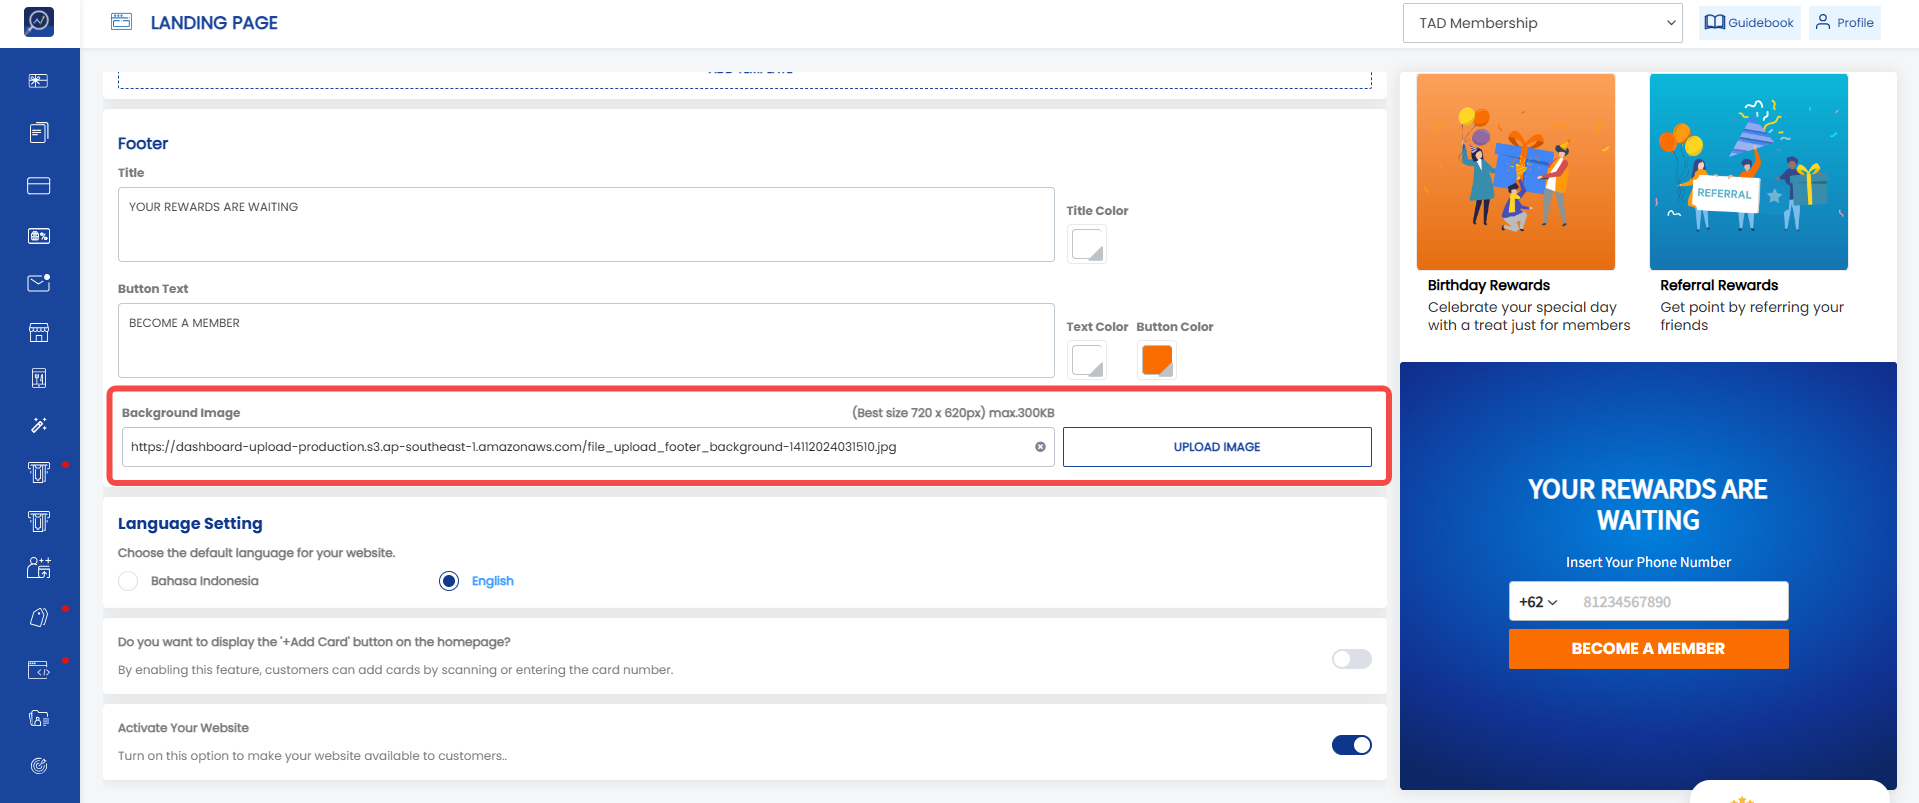
 21. Upload the footer background image in “Background Image”. We recommend an image resolution of 720 x 620 px with a maximum size of 300 KB.
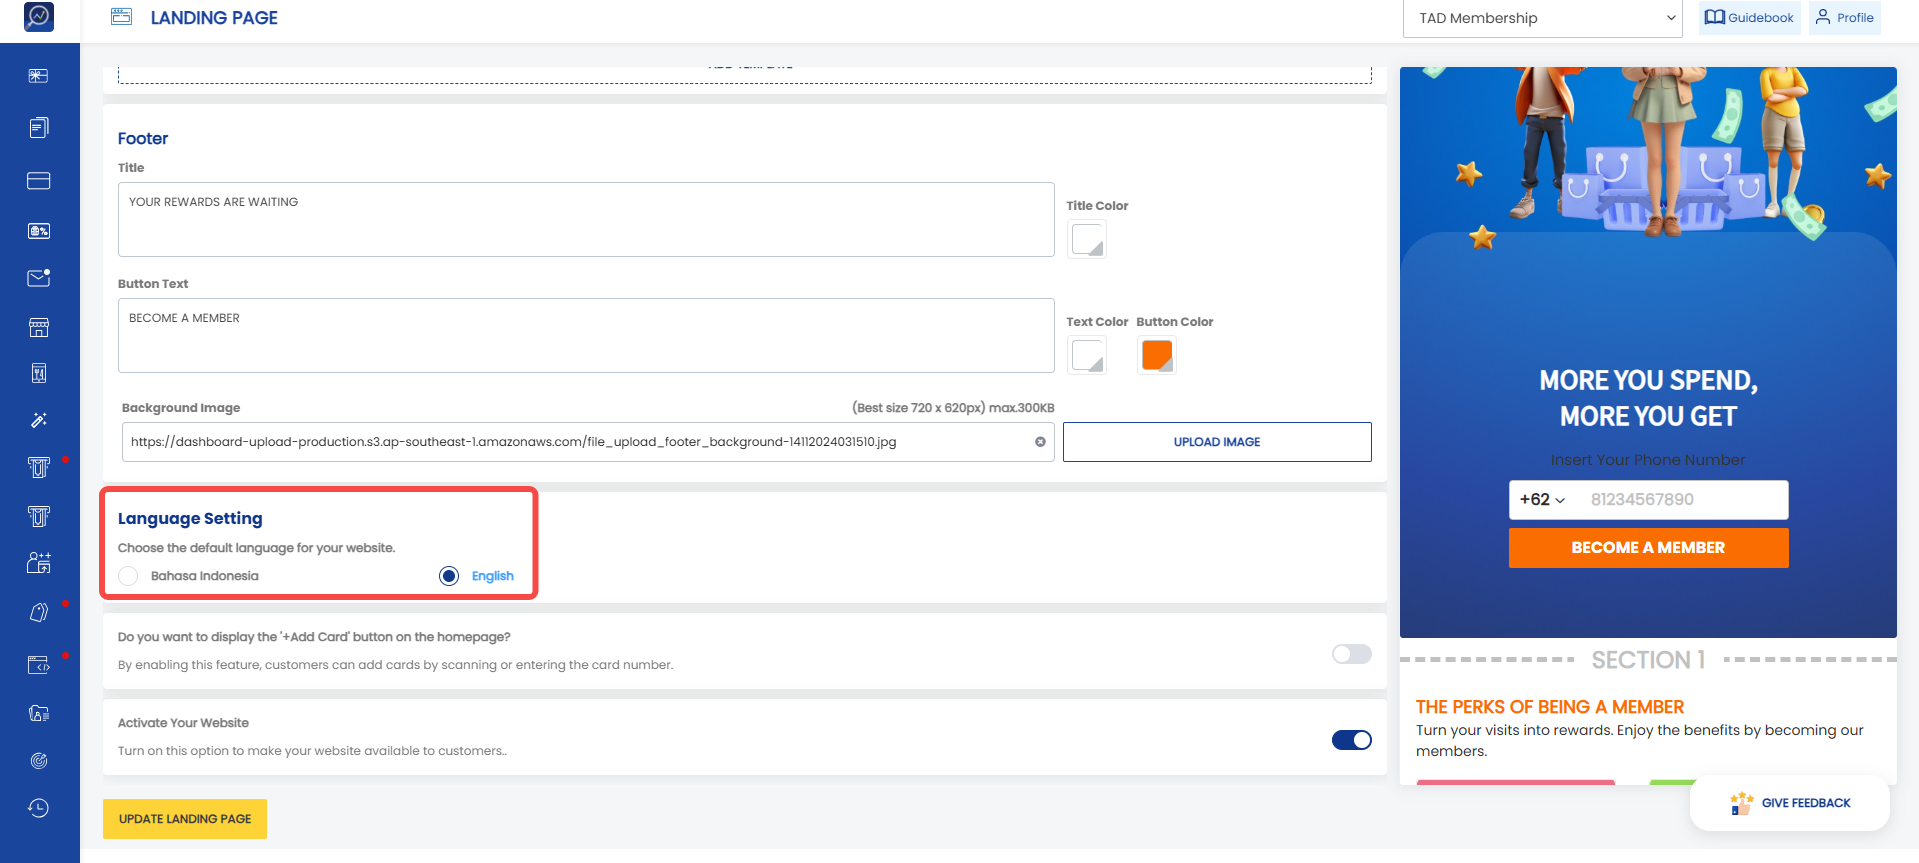
 22. Determine the default language used by the website in “Language Setting”.
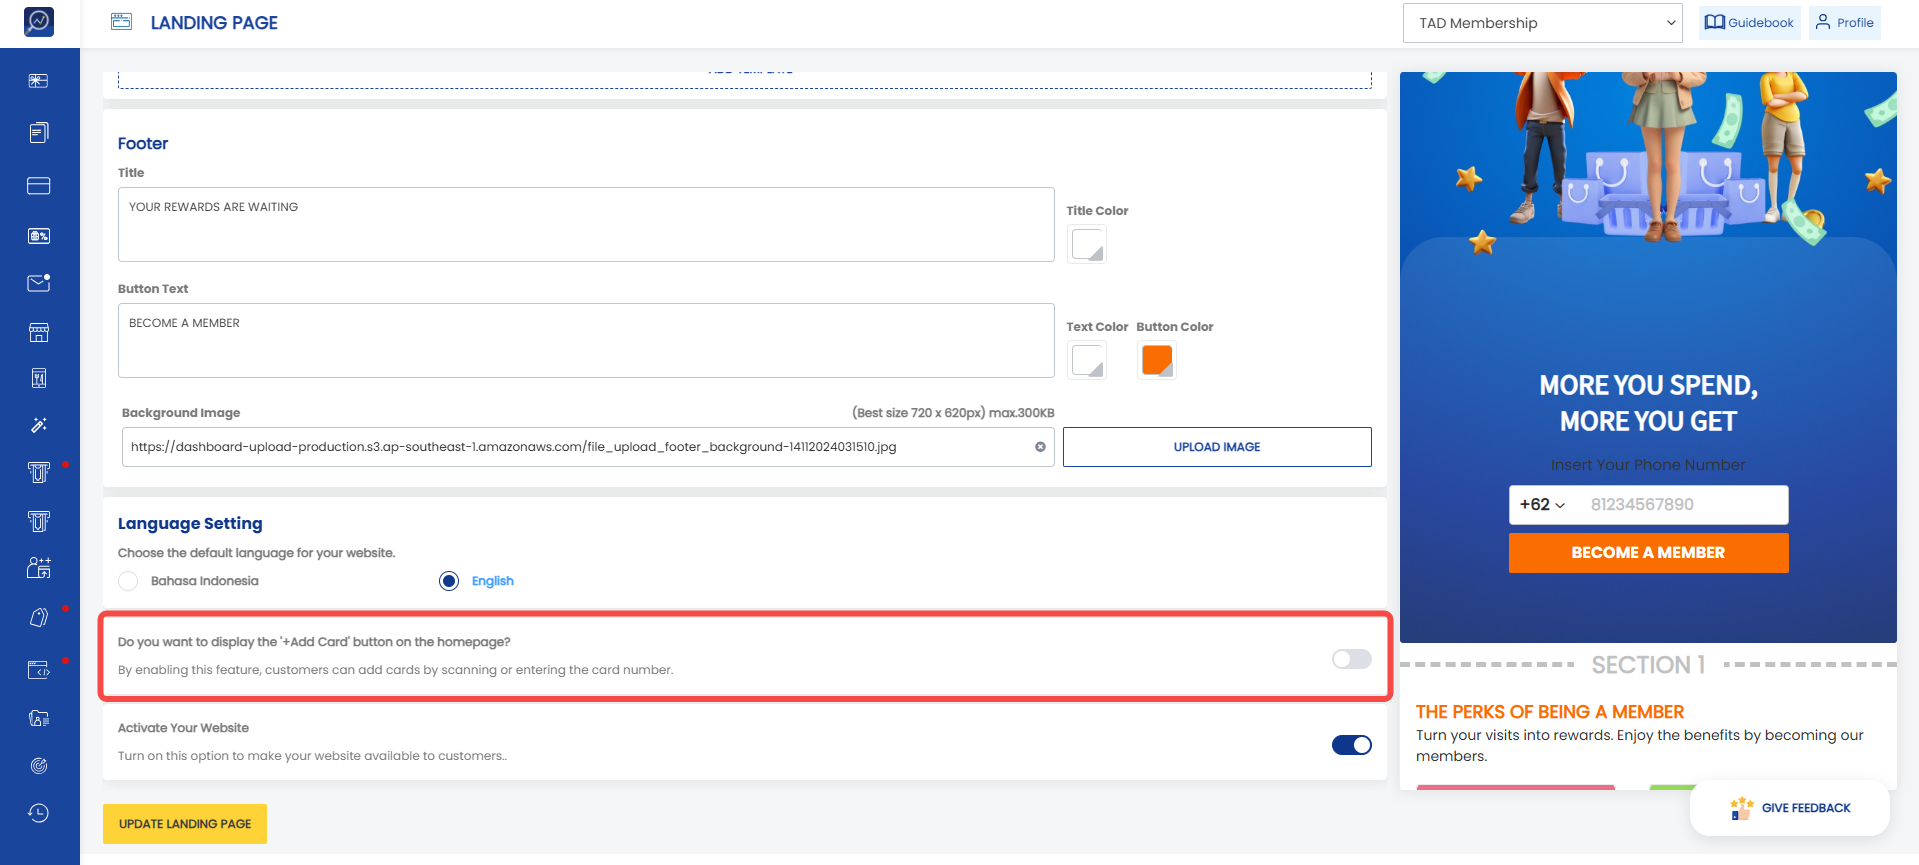
 23. Enable the “Do you want to display the '+Add Card' button on the homepage?” toggle if you want members to be able to scan or enter a card number to add a new card (add cards).
 24. Activate the configured website by enabling the “Activate Your Website” toggle so the website can be accessed by members.